
Introduction
If you have some hot water, or the water is just not hot enough, or some other problem, see the Troubleshooting section. The guide below is for a new water heater installation where you have NO HOT WATER AT ALL.
The information on this web site is supplemental to the printed instructions that came with your water heater. To reduce the risk of property damage, serious injury or death, read and follow all labels on the water heater and the safety instructions in the printed owner's manual.
-
-
No tools or supplies are needed for this guide.
-
-
-
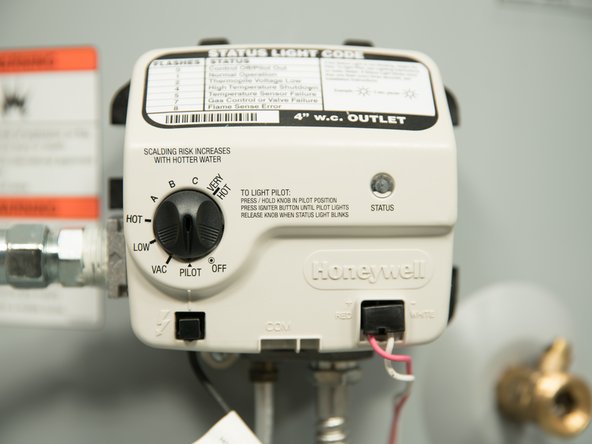
Check the Status Light. The Status Light must flash once every three seconds for the water heater to work.
-
-
-
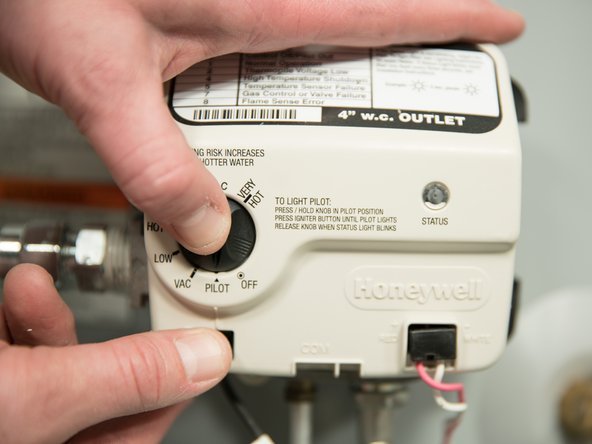
If the Status Light is not flashing, try lighting the pilot using the instructions on the water heater's label.
-
Make sure the gas supply valve is turned ON.
-
When lighting the pilot, make sure the knob on the gas control valve is fully pushed in. Keep the knob pushed in while repeatedly clicking the spark igniter button.
-
Hold the knob in and click the igniter button repeatedly for 90 seconds.
-
Newly installed water heaters have air in the gas line. It may take several attempts to light the pilot.
-
-
-
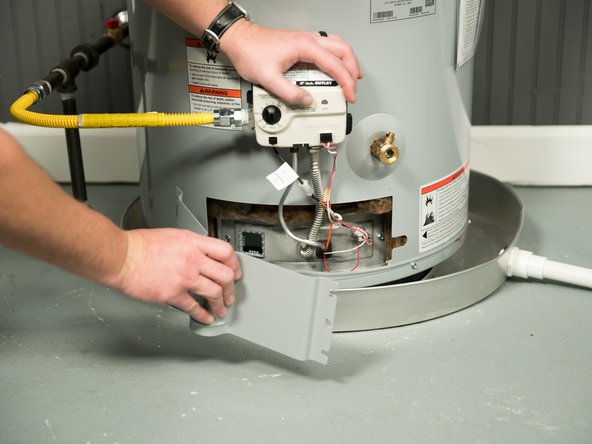
If the Status Light still does not flash, you'll need to try to visually observe the pilot light by looking through the sight glass while lighting the pilot.
-
Remove the outer door.
-
-
-
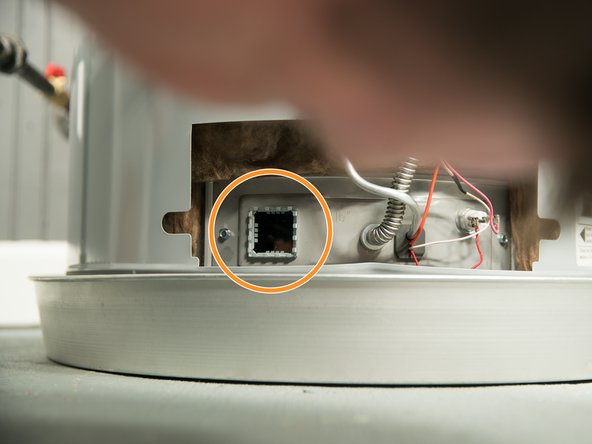
While keeping the pilot knob pressed in, press the igniter button and then look through the site glass for the pilot.
-
-
-
The pilot will be a small blue flame up and to the left.
-
The pilot can be hard to see. Turn the lights out in the room to better see the pilot.
-


Team

One Comment
Step 1
Pic 1 cu of status light flashing
Pic 2 cu sight glass (call out)
Pic 3 cu pilot light (proper perspective)
Step 2 Lighting the Pilot (Electronic) VIDEO
Step 3 Drips and Leaks VIDEO
Henry James - Resolved on Release Reply