
Introduction
The information on this web site is supplemental to the printed instructions that came with your water heater. To reduce the risk of property damage, serious injury or death, read and follow all labels on the water heater and the safety instructions in the printed owner's manual.
Parts
-
-
Paper towels
-
Common plumbing tools (depending on what type of water pipes you have).
-
Plumber's tape or pipe joint compound approved for potable water and plumber's tape or pipe joint compound approved for fuel gas.
-
Wrench
-
Pressure reducing valve
-
Thermal expansion tank
-
Thermostatic mixing valves
-
-
-
A puddle of water near a newly installed water heater is usually condensation and not a leak.
-
Since the water heater is full of cold water, you may get some condensation (puddle of water near the water heater or drops of water hitting the burner and sizzling) the first time the water heater operates.
-
Condensation is normal when the water heater is newly installed and may also occur in very cold weather or during periods of heavy use.
-
Condensation will go away when the tank of water is hot.
-
-
-
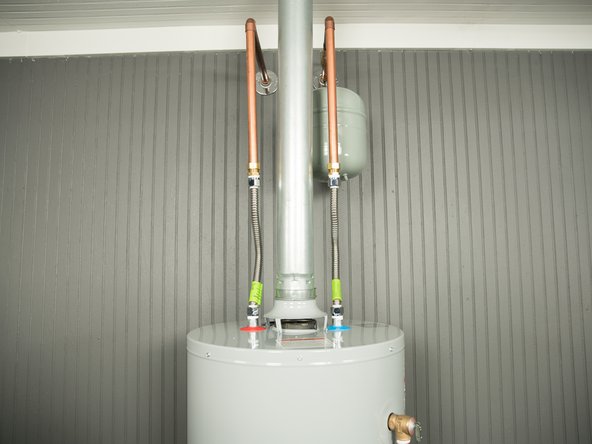
To locate and fix a leak, follow these steps:
-
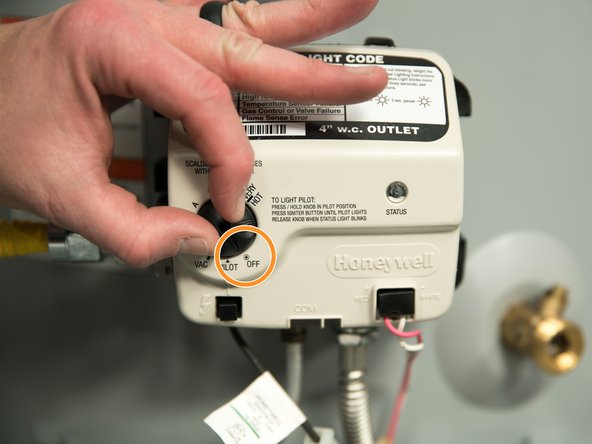
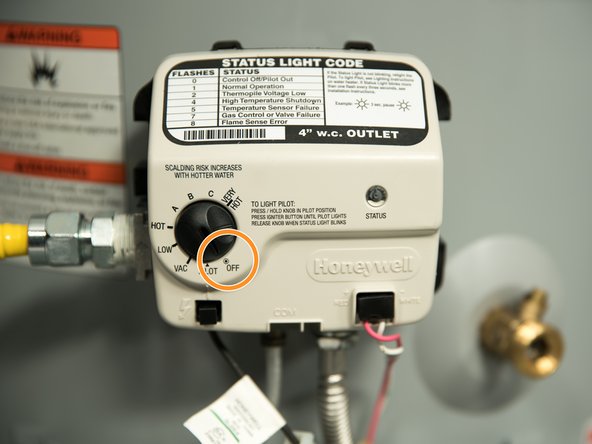
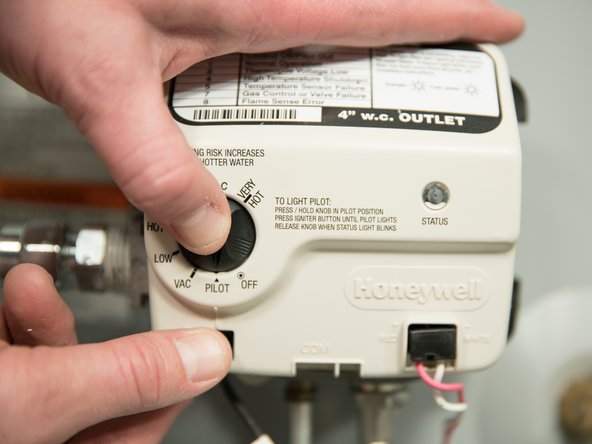
Locate the control knob and turn it to the OFF position.
-
-
-
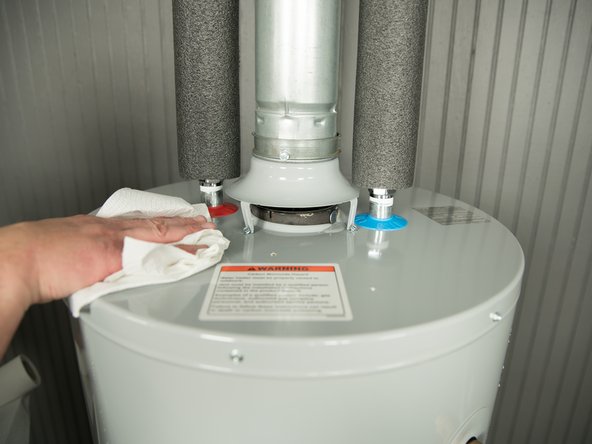
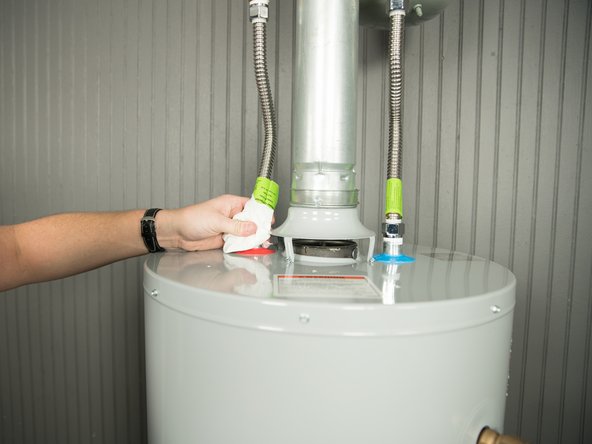
To more easily identify where a leak is coming from, dry up any drips using paper towels.
-
-
-
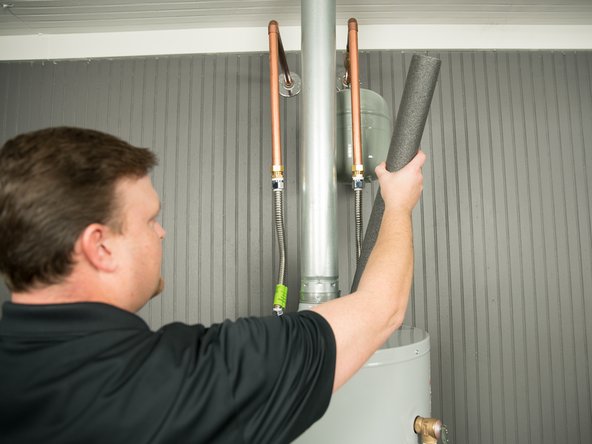
Remove the insulation from the water pipes, if present.
-
CAUTION! The vent pipe maybe hot. Use caution when removing the insulation from the water pipes.
-
-
-
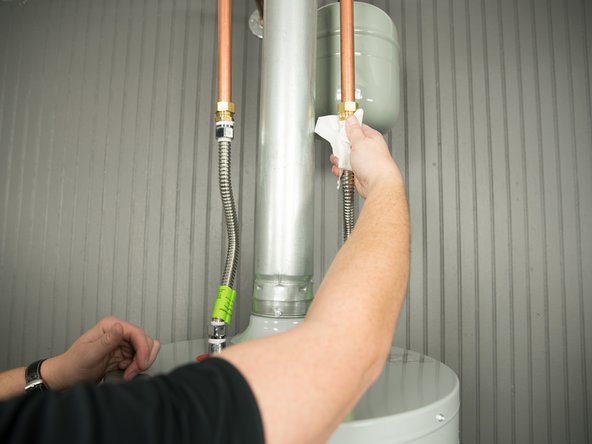
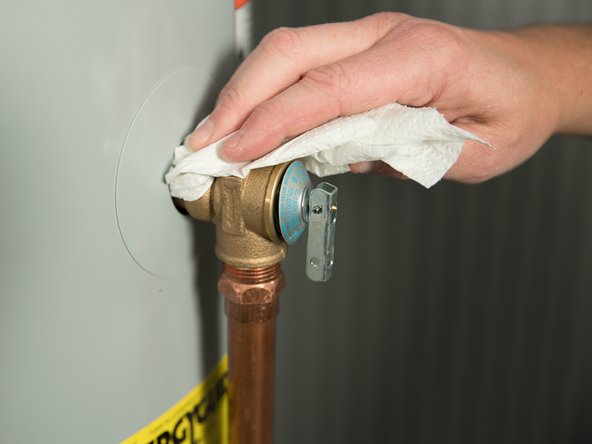
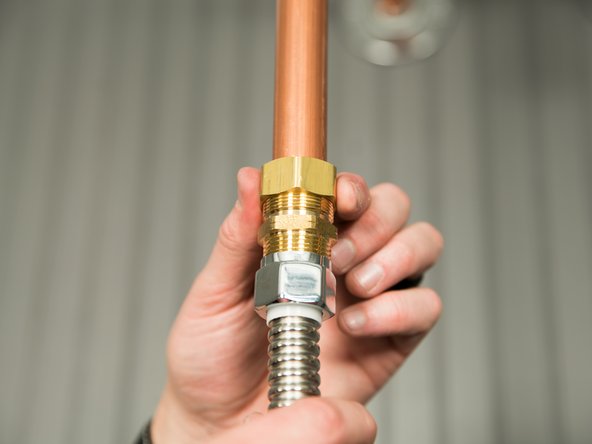
Using a fresh, dry paper towel, press the paper towel against the inlet and outlet connections and check for water droplets or moisture.
-
-
-
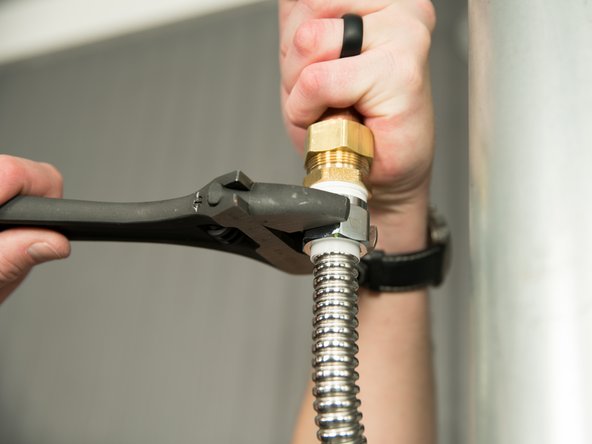
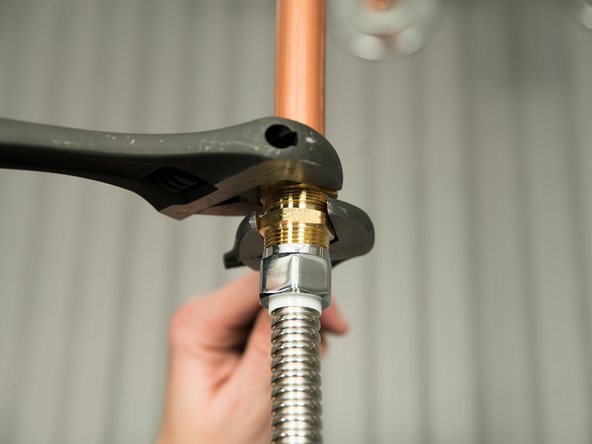
If the paper towel gets wet, try tightening the connection.
-
-
-
Be sure to turn water OFF before doing this step.
-
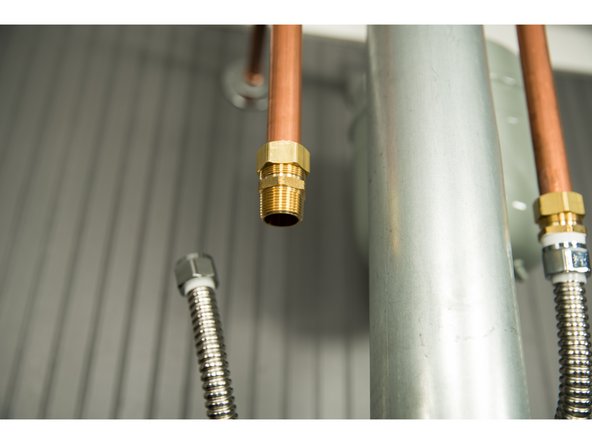
In some cases, you may have to remove the threaded connections.
-
Clean the threads and gaskets.
-
-
-
Reapply pipe joint compound or plumber's tape, if used.
-
-
-
Replace the threaded connection and re-tighten.
-
-
-
Drips coming from the T&P discharge pipe almost always mean the home's water pressure is too high.
-
-
-
In many cases, a Thermal Expansion Tank is often needed to stop drips from the T&P valve
-
Replacing the T&P valve almost never stops the drips because T&P valves rarely fail and almost all drips from the T&P valve are due to high water pressure and thermal expansion
-
See Maintenance section for information about Pressure Reducing Valves and Thermal Expansion Tanks.
-
-
-
High water pressure is one of the main reasons water heaters leak prematurely.
-
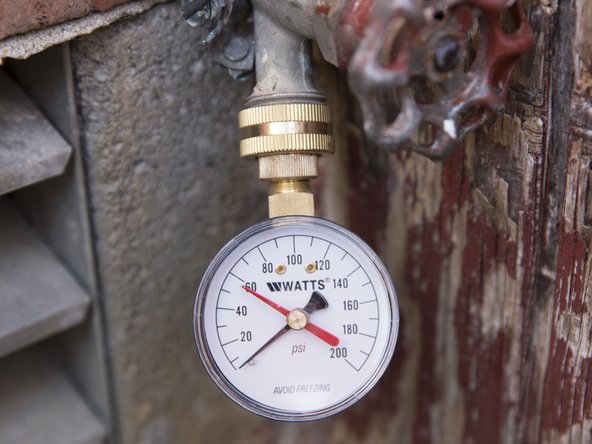
Plumbing codes require that your home's water pressure be 80 pounds per square inch (psi) or less. Most experts recommend 50-60 psi.
-
If your old water heater leaked prematurely, check your home's water pressure with a pressure gauge (available at hardware stores and home centers for a few dollars). Measure the water pressure over a 24-hour period. (Water pressures are highest at night.)
-
-
-
Plumbing codes require that your home's water pressure be no higher than 80 psi. If your water pressure exceeds 80 psi, install a Pressure Reducing Valve.
-
Pressure Reducing Valves (PRV) are usually set at the factory to 50 psi. However, they are adjustable. Adjust the PRV if necessary to achieve 50 psi.
-
Controlling high water pressure helps protect your water heater, toilet valves, washing machine hoses, and the electronic valves on washing machines, dishwashers, ice makers and other appliances.
-
-
-
There are several threaded connection points on the water heater such as the T&P valve and the drain valve.
-
Use a dry paper towel to determine the source of the leak.
-
-
-
In most cases, a leaking threaded connection will have to be removed and pipe joint compound reapplied in order to stop the drips.
-
Make sure the water supply is turned off before removing any threaded connectors.
-
-
-
Make sure gas supply is turned ON.
-
Light the water heater using the instructions on the water heater's label.
-
Because the water heater is new, there will be air in the gas pipe. It may take several attempts to light the pilot.
-
-
-
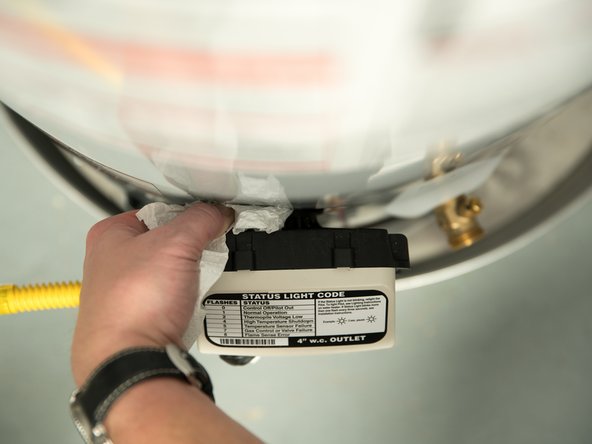
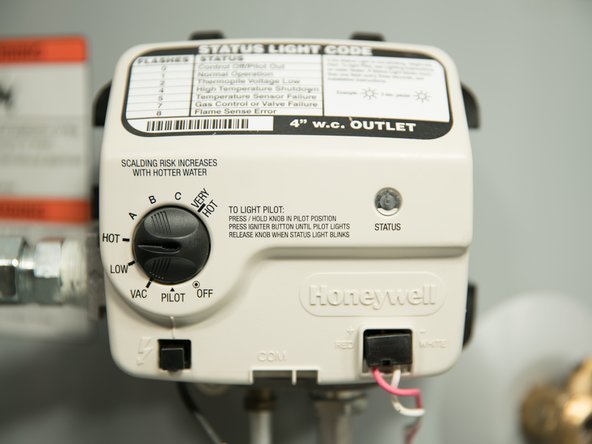
When the pilot is lit, the status light will begin to blink.
-
Since the water heater is full of cold water, you may get some condensation (puddle of water near the water heater or drops of water hitting the burner and sizzling) the first time the water heater operates.
-
Set the thermostat on the water heater to "HOT" which is approximately 120°F degrees.
-
WARNING! Hot water can cause severe burns instantly, resulting in severe injury or death. Install Thermostatic Mixing Valves at each point-of-use to reduce the risk of scalding.
-
-
-
Install Thermostatic Mixing Valves at each point of use.
-
Adjust Thermostatic Mixing Valves according to manufacturer's instructions.
-
WARNING! Hot water can cause severe burns instantly, resulting in severe injury or death. Install Thermostatic Mixing Valves at each point-of-use to reduce the risk of scalding.
-
-
-
Check water temperature at several points of use in your home (for example, bathtub faucet, shower, or lavatory sink) and adjust the Thermostatic Mixing Valves as needed.
-
If you do wish to change the temperature, see Adjusting the Temperature in Standard Gas (Electronic) Troubleshooting.
-


Team
