
Introduction
The information on this web site is supplemental to the printed instructions that came with your water heater. To reduce the risk of property damage, serious injury or death, read and follow all labels on the water heater and the safety instructions in the printed owner's manual.
Parts
-
-
Meat thermometer
-
Non-contact circuit tester
-
Screwdriver
-
New upper thermostat
-
-
-
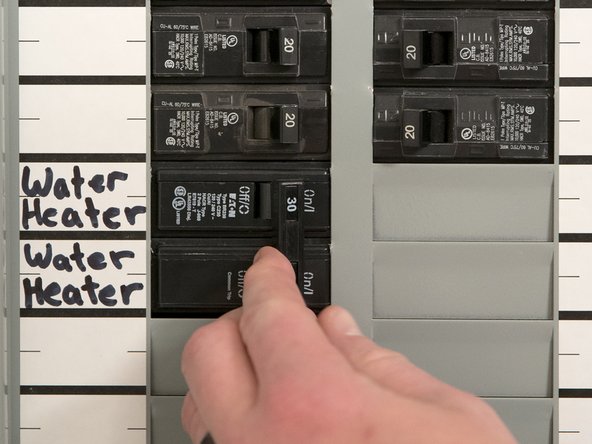
Turn the power to the water heater OFF at the circuit breaker (or remove fuses).
-
WARNING! Working near an energized circuit can result in severe injury or death from electrical shock. Check wires with a volt meter or circuit tester to make sure power is off .
-
-
-
It is not necessary to drain the tank to replace a thermostat.
-
Open the electrical junction box on top of the water heater.
-
-
-
Using a non-contact circuit tester, check the power wires to make certain the power is off.
-
WARNING! Working on an energized circuit can result in severe injury or death from electrical shock. Check wires with a volt meter or circuit tester to make sure power is off.
-
-
-
Replace the cover on the electrical junction box.
-
WARNING! Be sure all covers are secured to reduce the risk of fire and electric shock.
-
-
-
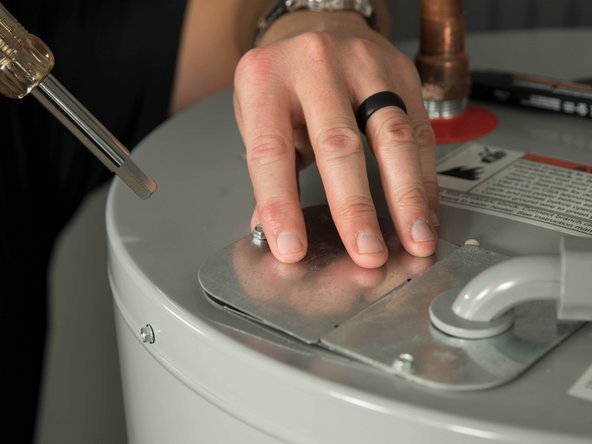
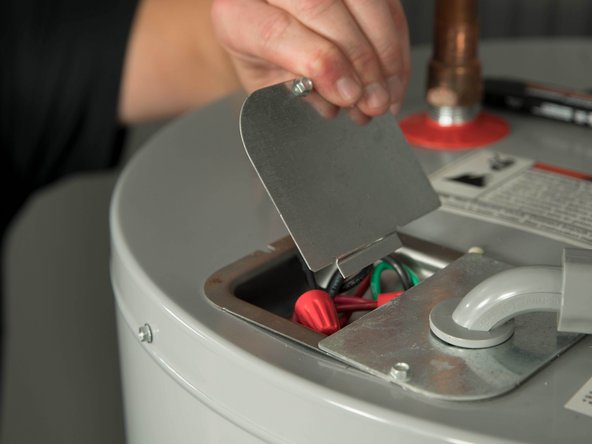
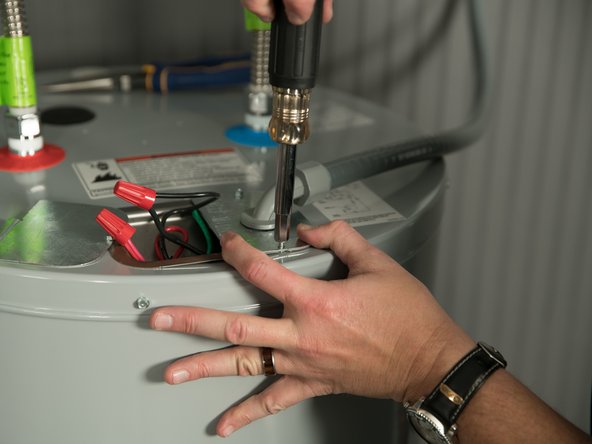
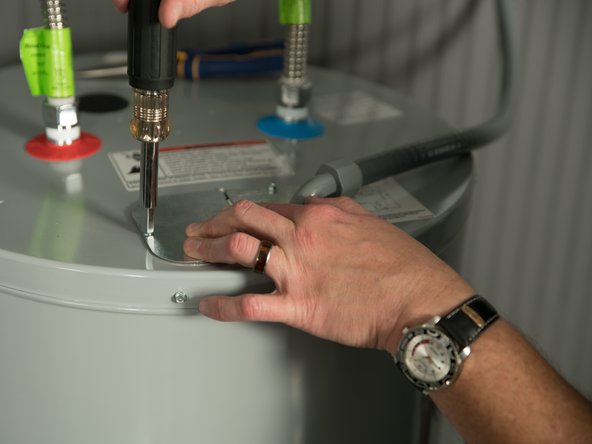
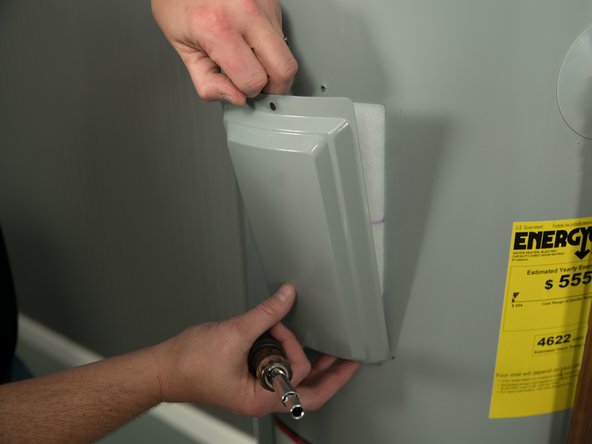
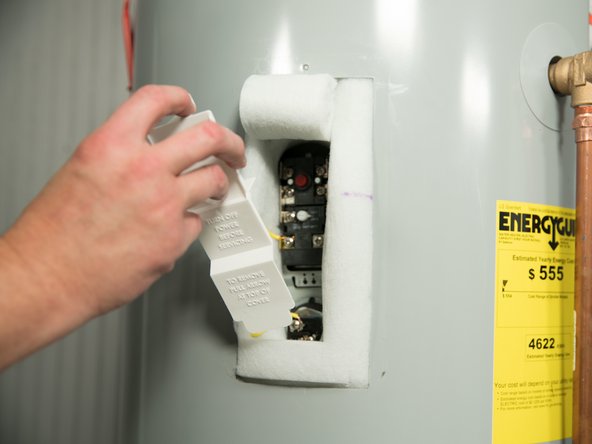
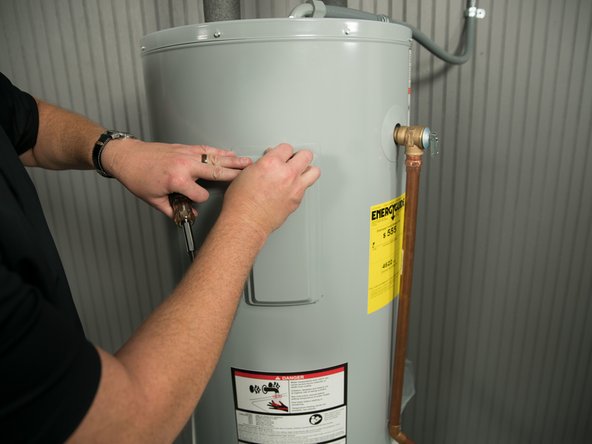
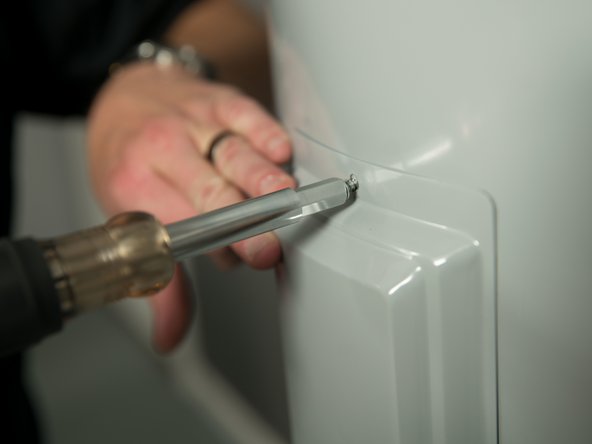
Remove the upper or lower heating element cover.
-
-
-
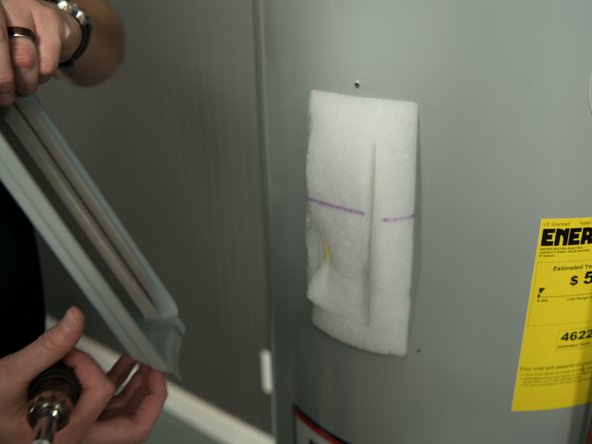
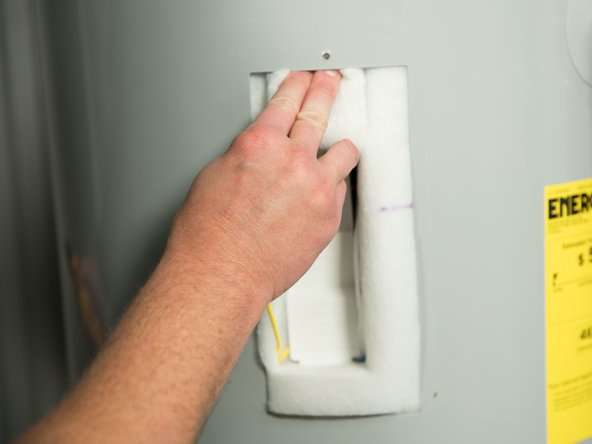
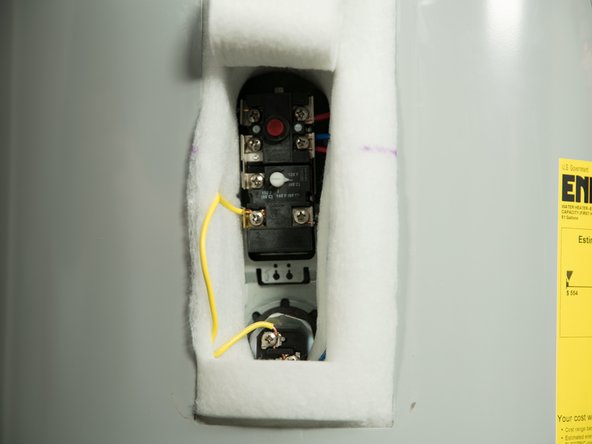
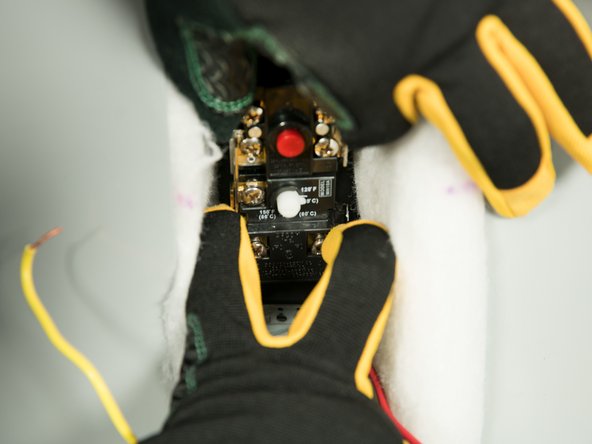
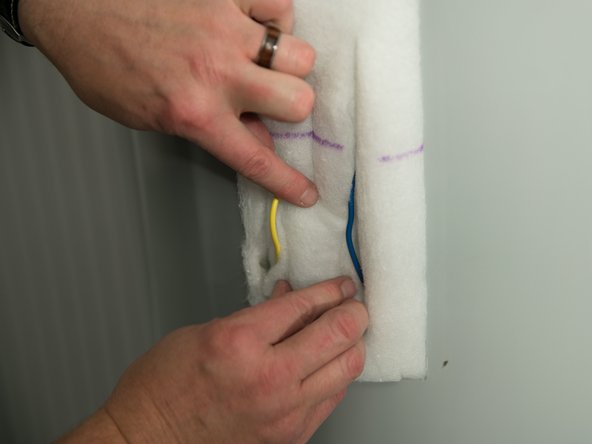
Carefully fold back the insulation.
-
-
-
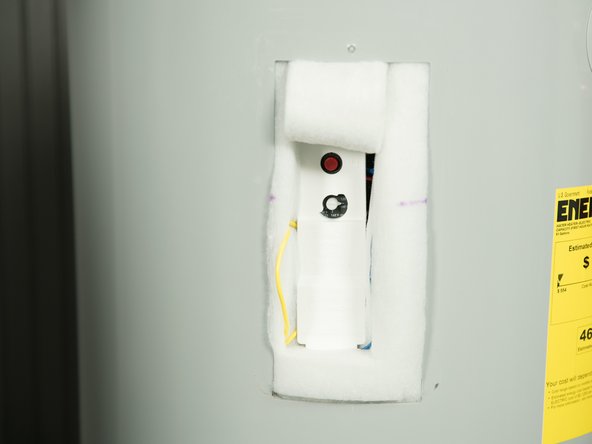
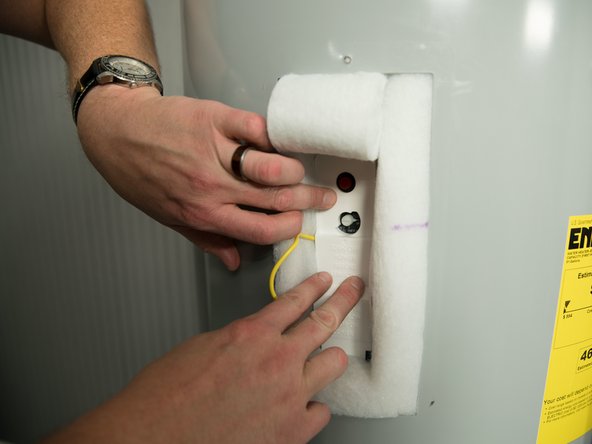
Remove the plastic protector.
-
-
-
Make sure the replacement thermostat exactly matches the original thermostat.
-
-
-
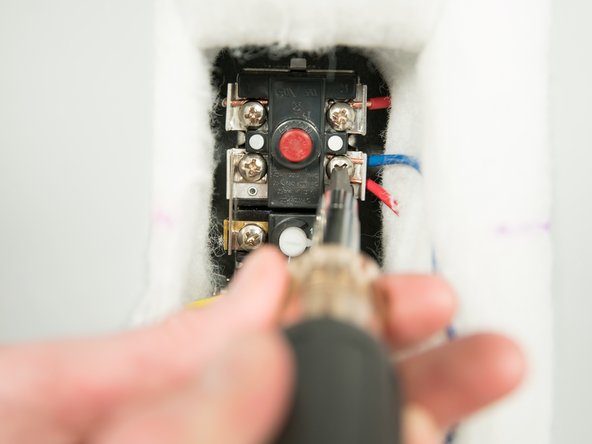
Mark the wires with tape so you’ll know how to put them back on.
-
Disconnect the wires from the bad thermostat.
-
-
-
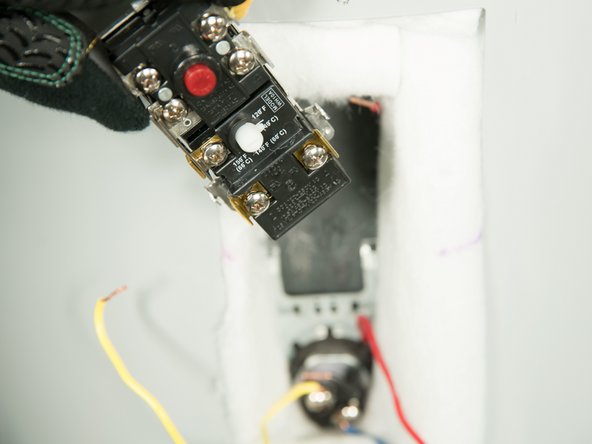
Remove the thermostat from the metal mounting clip.
-
CAUTION: Metal edges may be sharp. Wear protective gloves.
-
-
-
Pull the metal mounting clip.
-
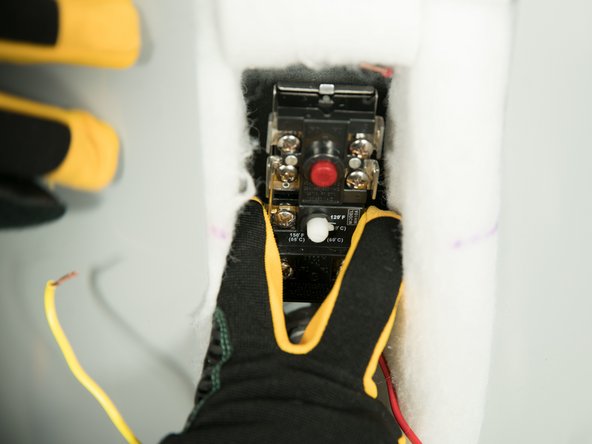
Install the new thermostat in the metal mounting clip.
-
-
-
Make sure the new thermostat fits tightly against the tank.
-
You should NOT be able to slip a business card between the thermostat and the tank. If you can, bend the thermostat mounting clip until the thermostat fits tightly against the tank.
-
-
-
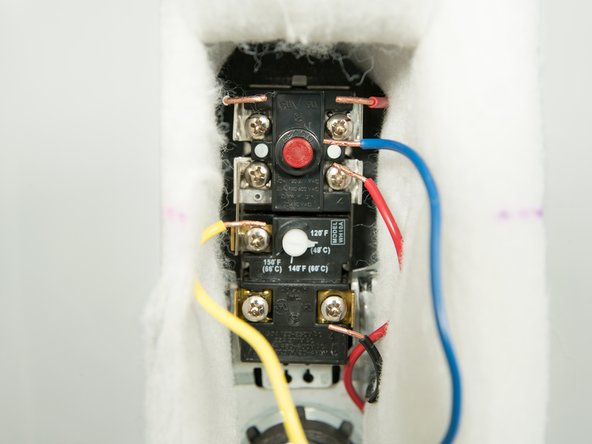
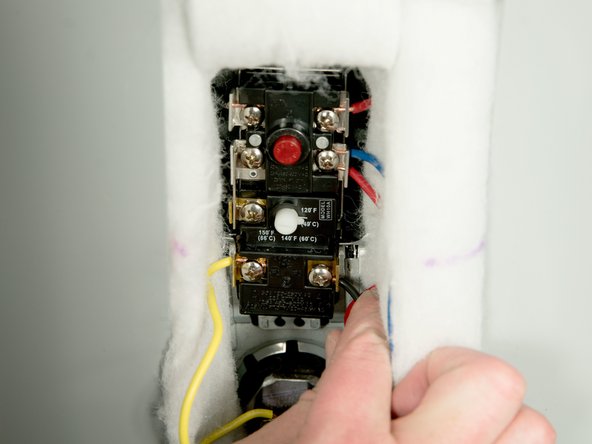
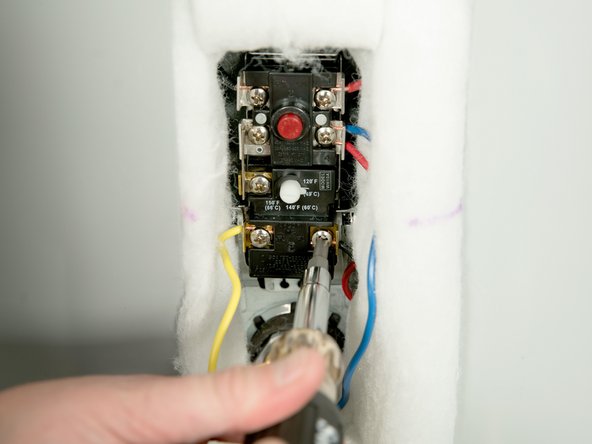
Attach the wires following the wiring diagram on the water heater’s label. Make sure all wire connections are tight.
-
-
-
Make sure both thermostats are set no higher than 120°F.
-
WARNING! Higher temperatures increase the risk of scalding, but even at 120°F, hot water can scald. Install point-of-use Thermostatic Mixing Valves to reduce the risk of scalding.
-
-
-
Replace the plastic protector.
-
-
-
Replace the insulation.
-
-
-
Replace the heating element cover.
-
WARNING! Be sure covers are secured to reduce the risk of fire and electric shock.
-
-
-
Turn power to the water heater ON.
-
It may take up to two hours for the water to heat up.
-
-
-
Check the water temperature after two hours and make sure it is not too hot.
-


Team
