
Introduction
The information on this web site is supplemental to the printed instructions that came with your water heater. To reduce the risk of property damage, serious injury or death, read and follow all labels on the water heater and the safety instructions in the printed owner's manual.
Tools
Parts
No parts specified.
-
-
Garden hose
-
Hand truck or appliance dolly
-
Non-contact circuit tester
-
Pipe cutter
-
1/4" nut driver and/or Phillip's screwdriver
-
Wrench
-
Bucket (optional)
-
-
-
Locate the water heater's circuit breaker and turn it OFF (or remove the circuit's fuses).
-
WARNING! Before working on the water heater, use a non-contact circuit tester or volt meter to make sure power is off. Working on an energized appliance can cause electrical burns, electrocution or death.
-
-
-
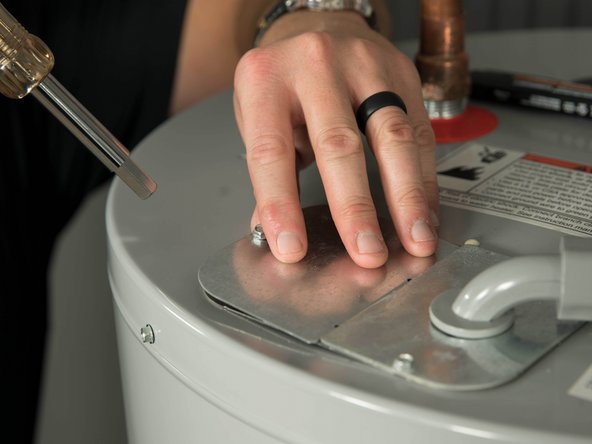
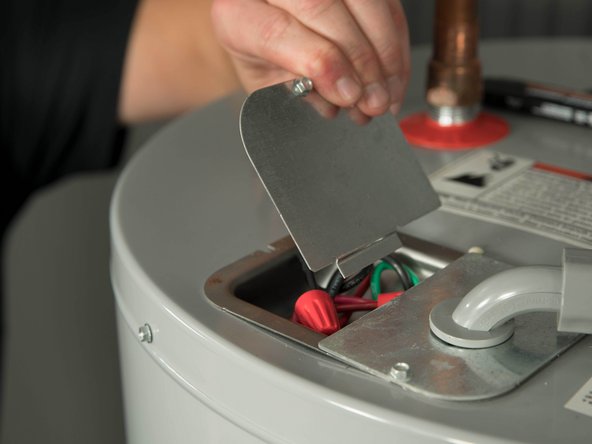
Open the electrical junction box access panel on the old water heater.
-
Your access panel may look different and may use a different type of screw.
-
-
-
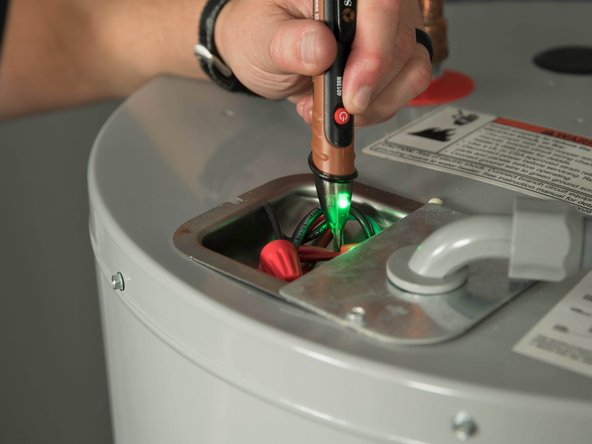
Using a non-contact circuit tester, check the power wires to make certain the power is off.
-
WARNING! Working on an energized circuit can result in severe injury or death from electrical shock. Check wires with a volt meter or circuit tester to make sure power is off.
-
-
-
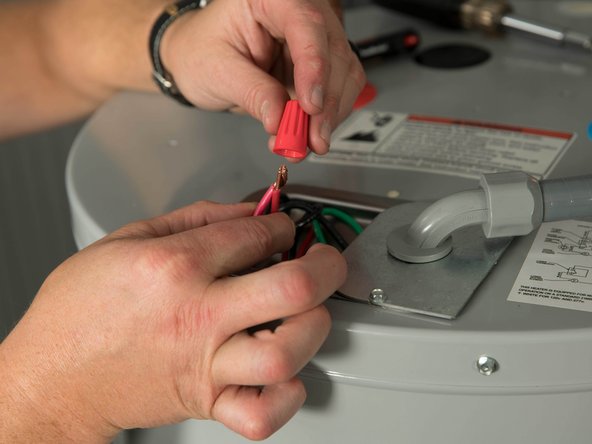
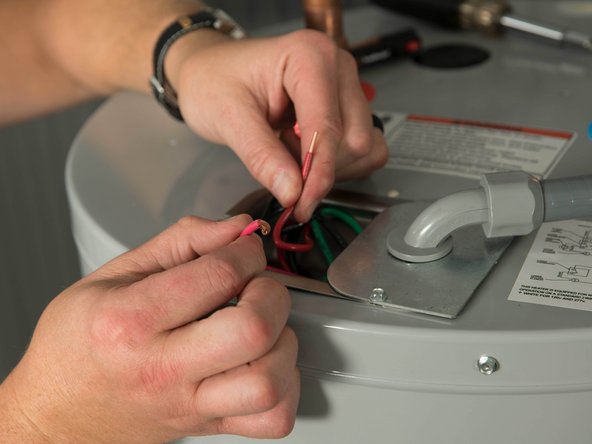
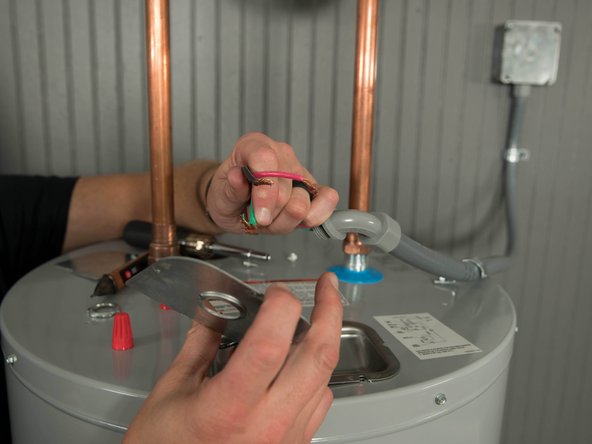
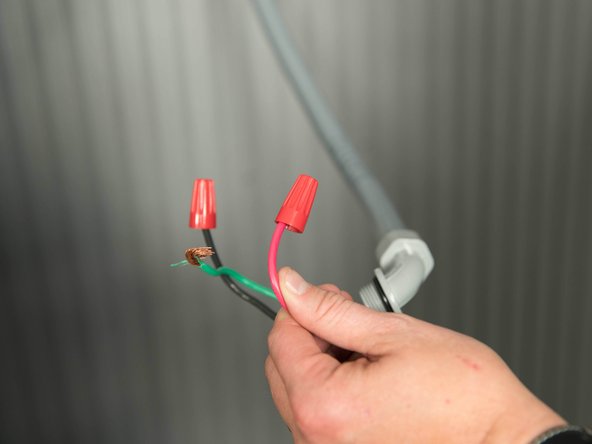
Unscrew the wire nuts connecting the water heater's service wires and home's power wires.
-
-
-
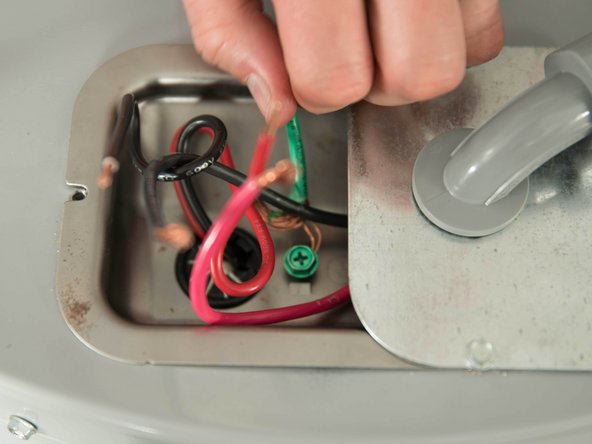
Unscrew the water heater's green ground screw and disconnect the ground wire.
-
-
-
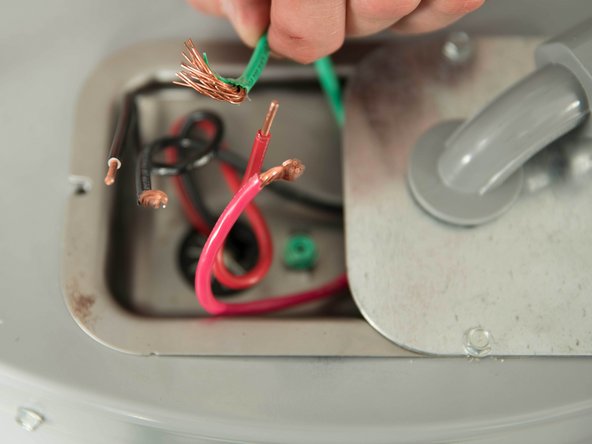
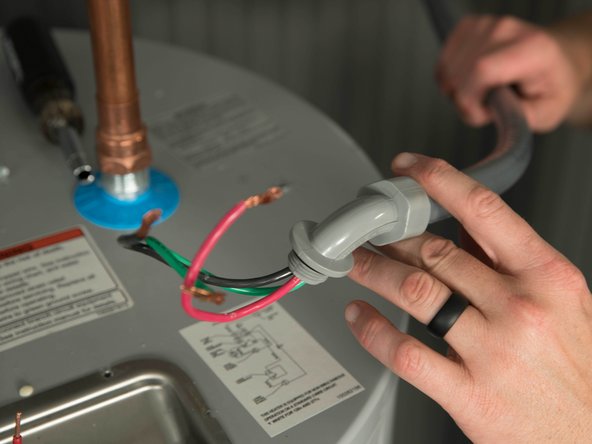
Disconnect the electrical cable from the water heater.
-
Your home's wiring may look different.
-
-
-
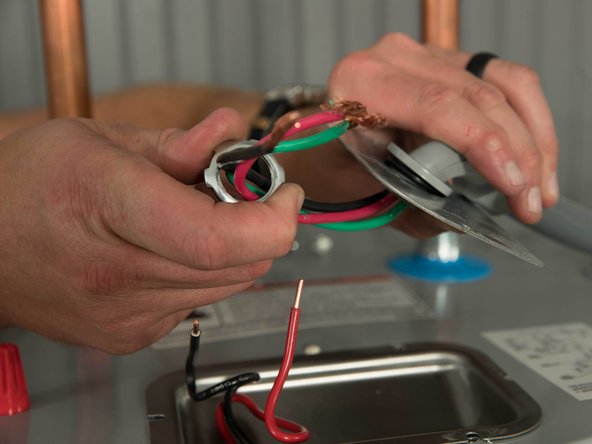
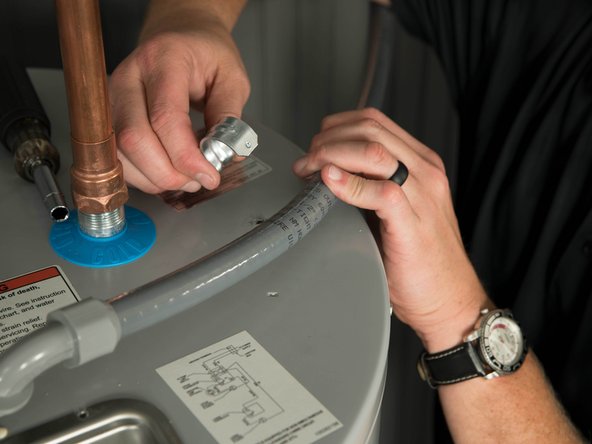
Disconnect the strain relief and save it for use with the new water heater.
-
-
-
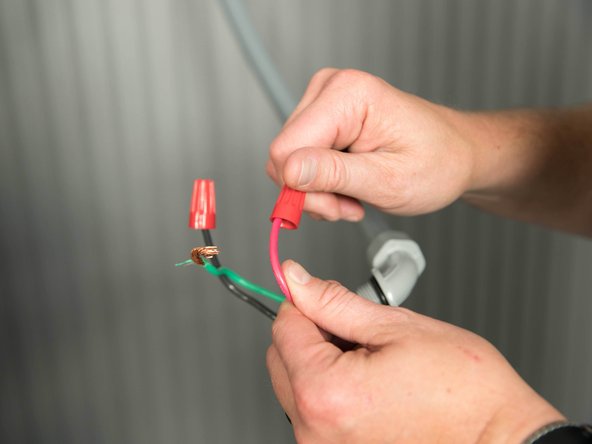
Cap the home's power wires with wire nuts.
-
-
-
Open a hot water faucet and let the hot water run until it is cool (this may take 10 minutes or longer).
-
WARNING! Be sure the water runs cool before draining the old water heater to reduce the risk of scalding.
-
-
-
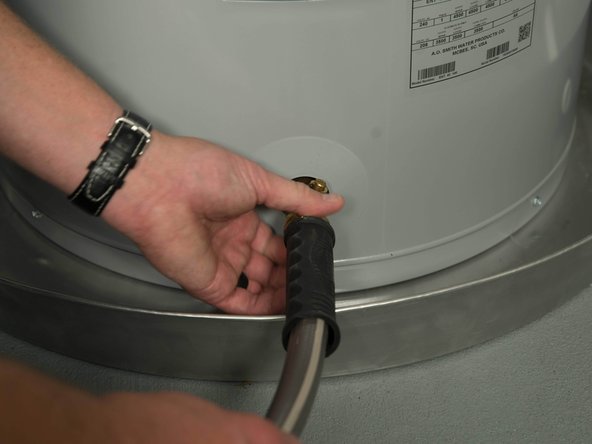
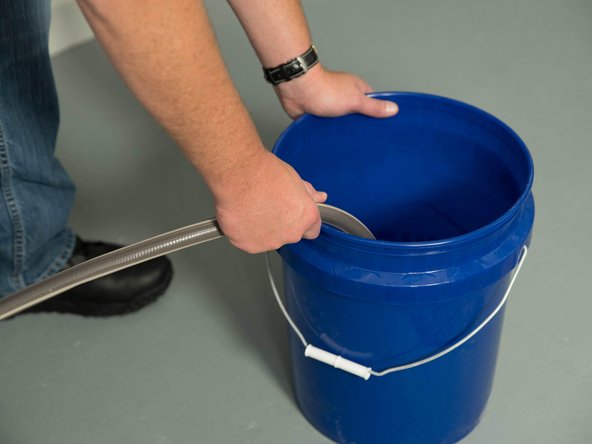
Connect a garden hose to the water heater's drain valve and place the other end of the hose in a drain, outside, or in a bucket.
-
-
-
Turn the cold water supply OFF.
-
-
-
Open the drain valve on the old water heater.
-
Open a hot water faucet to help the water heater drain faster.
-
Some drain valves may have a handle but others require a flat blade screwdriver.
-
Let the water heater drain completely.
-
Sediment in the bottom of the tank may clog the drain valve and prevent it from draining properly. If you can't get the tank to drain, contact a qualified technician for assistance.
-
-
-
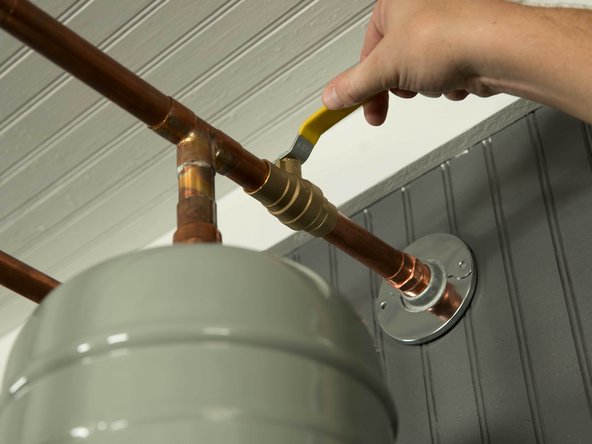
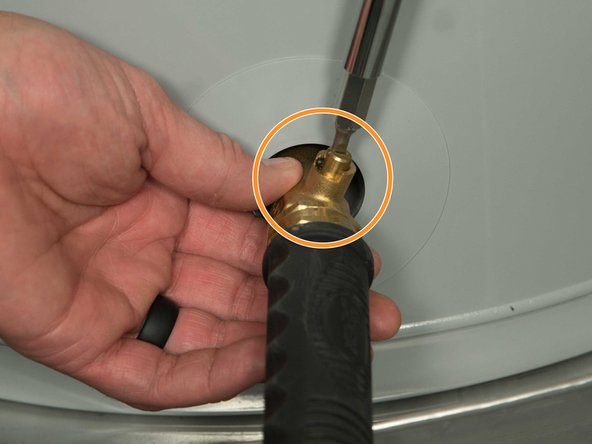
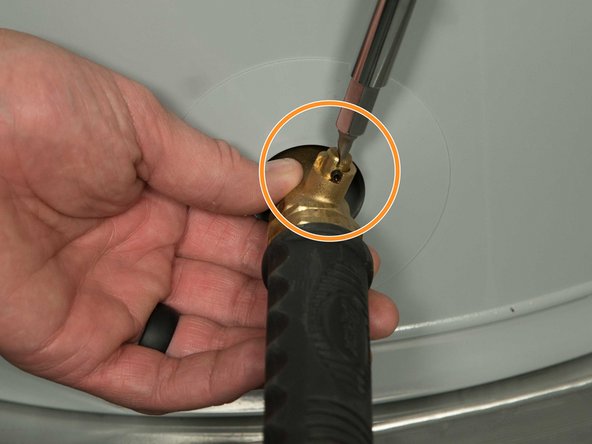
When the tank is empty, disconnect the Temperature & Pressure (T&P) Relief Valve discharge pipe.
-
You may be able to reuse the discharge pipe, but DO NOT REUSE THE OLD T&P RELIEF VALVE. Use the new T&P relief valve supplied with your new water heater.
-
-
-
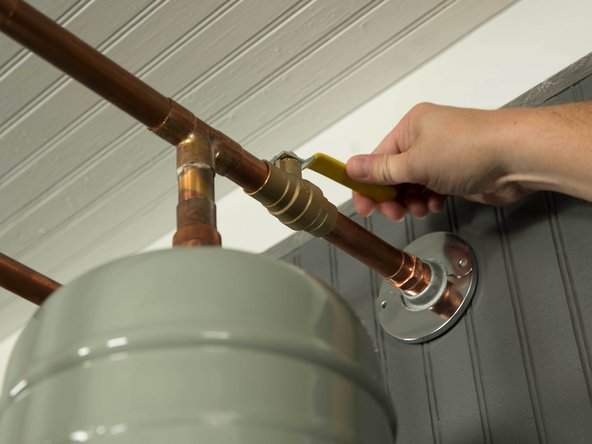
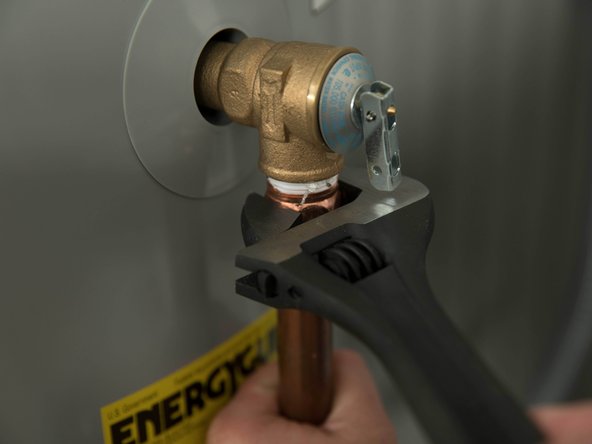
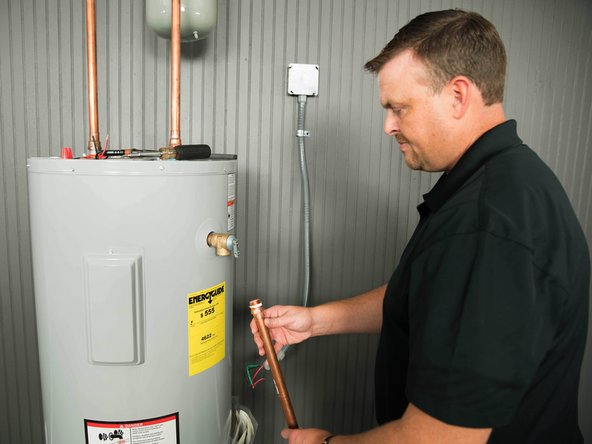
Before disconnecting the water pipes, decide how you are going to connect the new water heater. If you are using compression fittings, cut the water pipes close to the water heater, leaving the pipes as long as possible. You can cut them to length later.
-
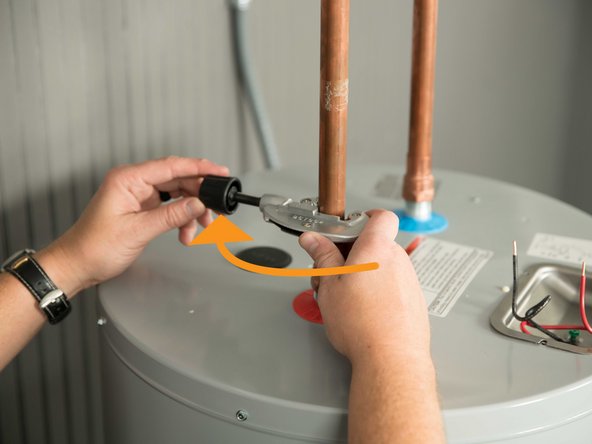
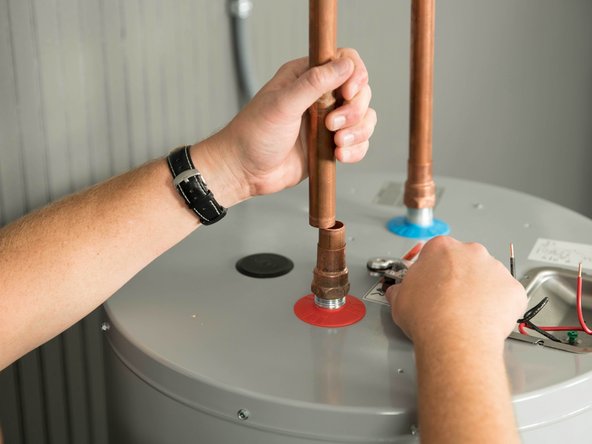
Disconnect the cold and hot water pipes attached to the old water heater. Many are connected with a threaded union that can be disconnected with wrenches.
-
-
-
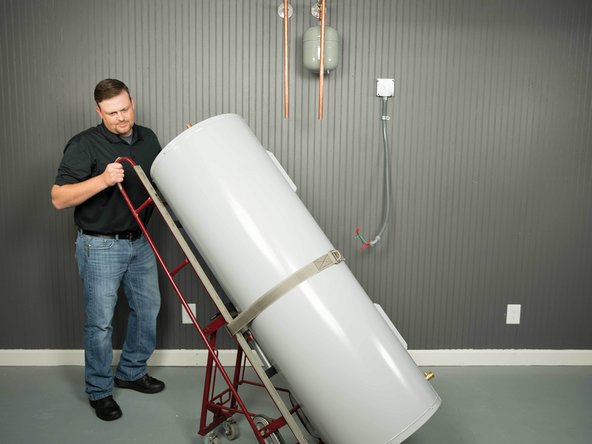
Remove the old water heater. Use a hand truck or appliance dolly to move the water heater.
-
CAUTION: Water heaters are heavy. Use two or more people to remove or install a water heater if you don't have an appliance dolly. Failure to do so can result in back or other injury.
-


Team
