
Introduction
No hot water is often caused by a problem with the home’s electrical wiring or circuit breakers. It can also be caused by a burned-out upper heating element.
The information on this web site is supplemental to the printed instructions that came with your water heater. To reduce the risk of property damage, serious injury or death, read and follow all labels on the water heater and the safety instructions in the printed owner's manual.
-
-
Hand dishwashing soap
-
Element wrench
-
Garden hose and bucket (optional)
-
Thermometer
-
Multimeter
-
Non-contact circuit tester
-
Paper towels or shop rags
-
1/4" nut driver and/or Phillip's screwdriver
-
-
-
New lower element
-
New lower thermostat
-
New upper element
-
New upper thermostat
-
-
-
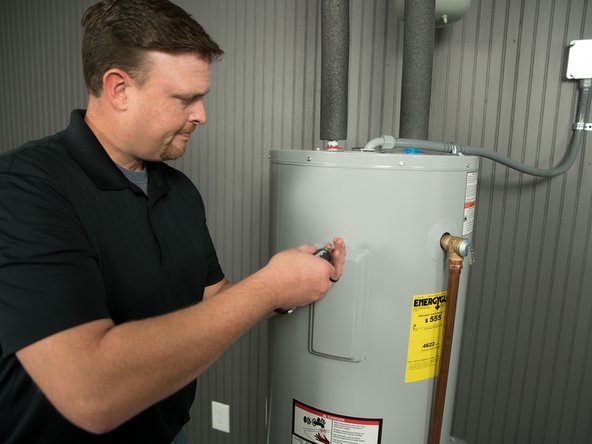
Turn the power to the water heater OFF at the circuit breaker (or remove fuses).
-
WARNING! Working near an energized circuit can result in severe injury or death from electrical shock. Check wires with a volt meter or circuit tester to make sure power is off .
-
-
-
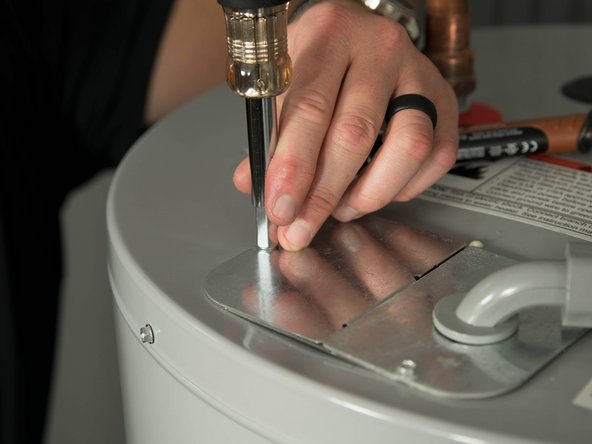
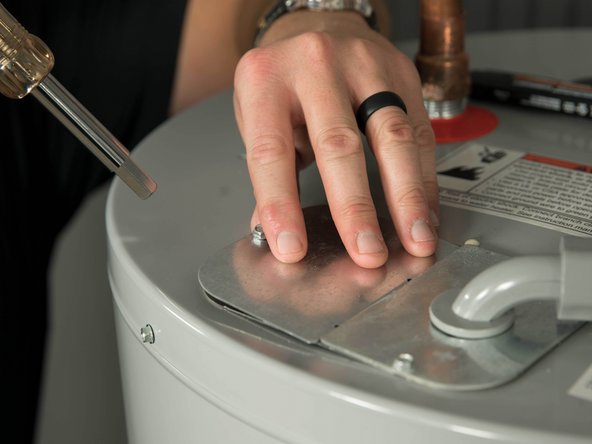
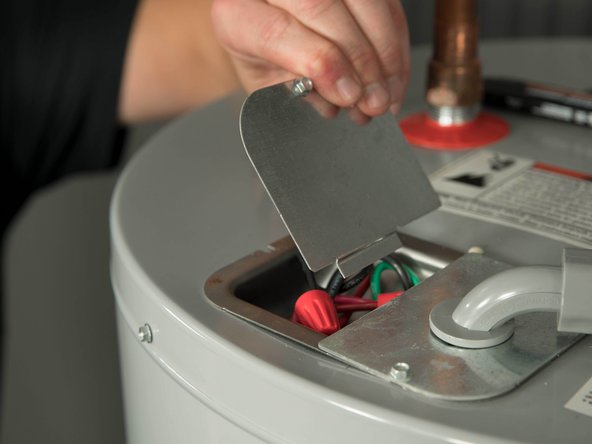
Open the electrical junction box on top of the water heater.
-
-
-
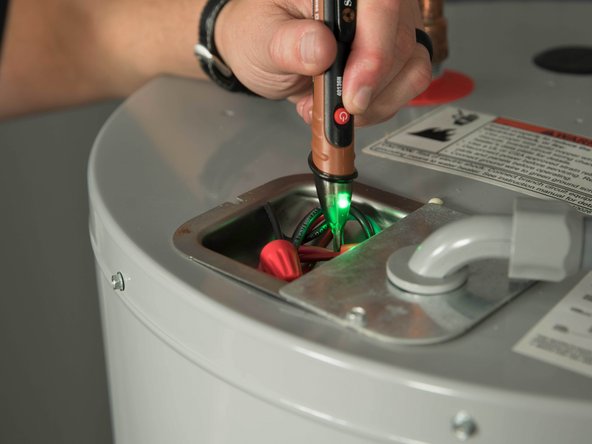
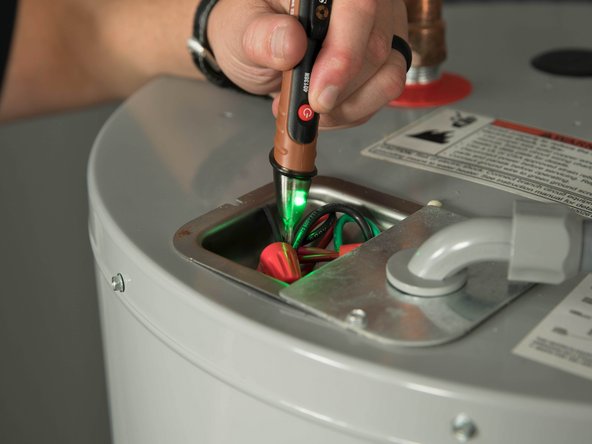
Using a non-contact circuit tester, check the power wires to make certain the power is off.
-
WARNING! Working on an energized circuit can result in severe injury or death from electrical shock. Check wires with a volt meter or circuit tester to make sure power is off.
-
-
-
Replace the junction box cover.
-
WARNING! Be sure all covers are secured to reduce the risk of fire and electric shock.
-
-
-
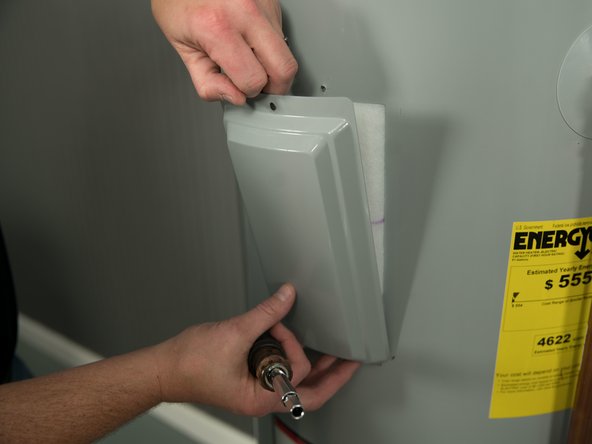
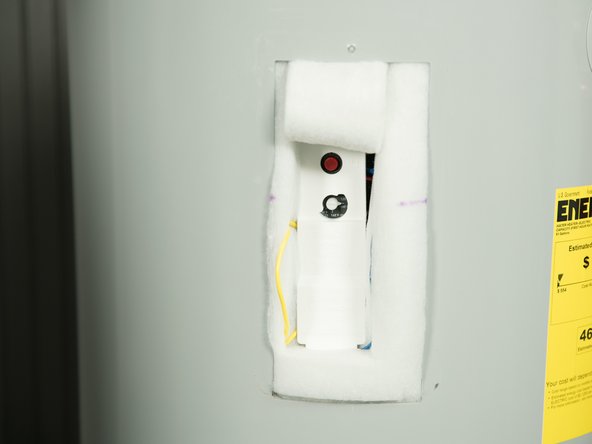
Remove the upper heating element cover.
-
-
-
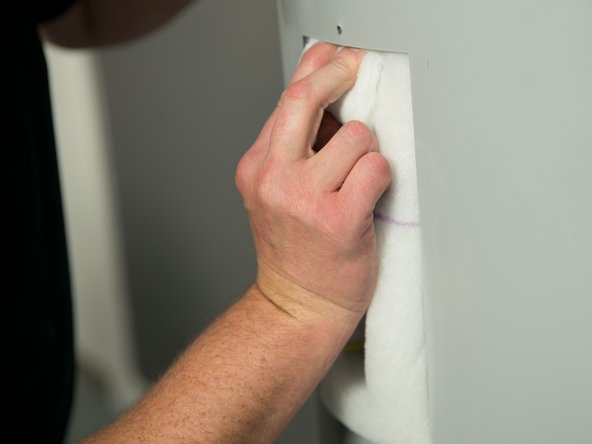
Carefully fold back the insulation (tuck the insulation under the water heater's jacket).
-
-
-
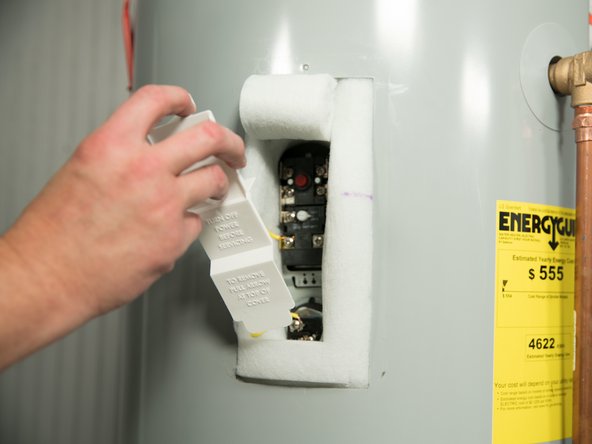
Remove the plastic protector.
-
-
-
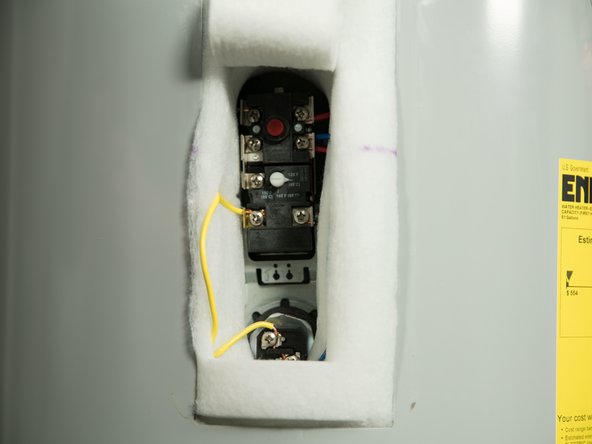
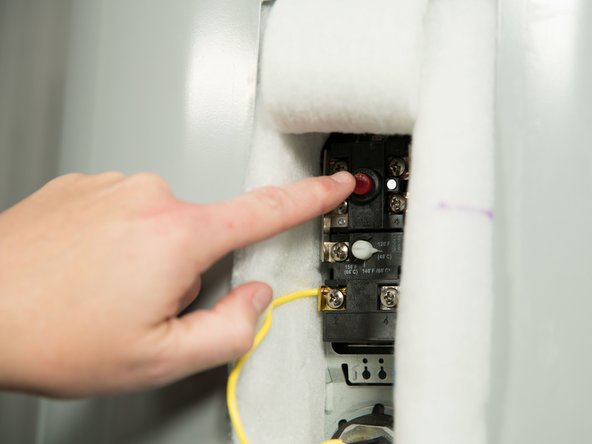
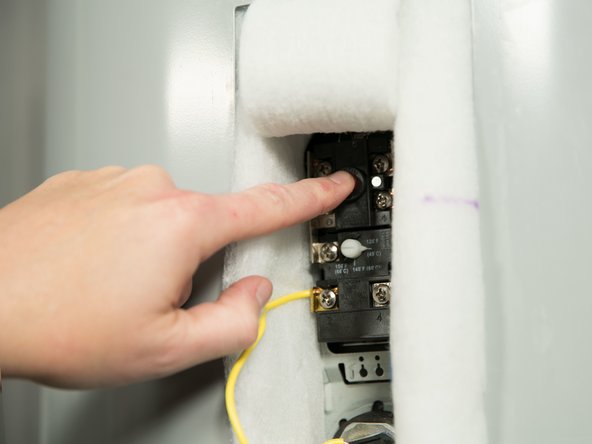
The Energy Cutoff (ECO) shuts off power to the water heater’s elements if the temperature of the water in the tank gets too hot. If the ECO has tripped, you’ll have no hot water.
-
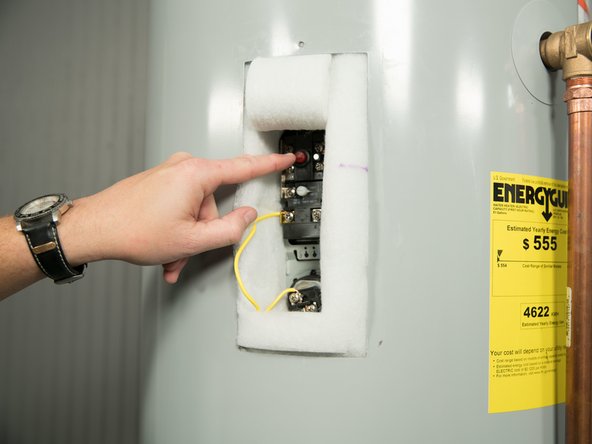
To check the ECO, press the red ECO reset button.
-
If the ECO was tripped you'll hear a click. A tripped ECO indicates a problem with one of the heating elements or thermostats.
-
If you don't hear a click, the ECO was not tripped.
-
Do not turn the power back on until the cause of the overheating has been identified and repaired.
-


Team
