Introduction
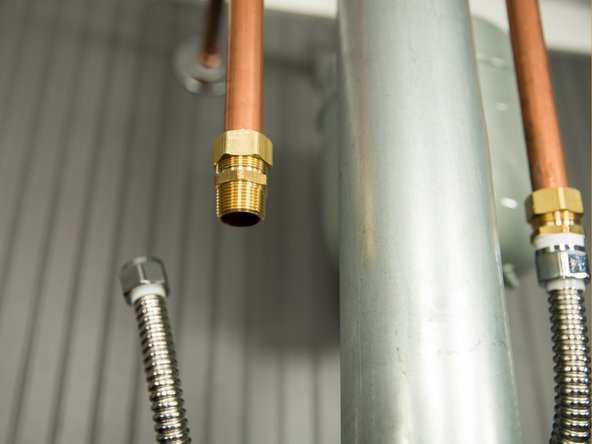
Many water heater leaks are caused by leaks at fittings and connections that can be fixed.
The information on this web site is supplemental to the printed instructions that came with your water heater. To reduce the risk of property damage, serious injury or death, read and follow all labels on the water heater and the safety instructions in the printed owner's manual.
Parts
-
-
Paper towels
-
Plumber's tape or pipe joint compound approved for potable water.
-
Wrench
-
Pressure reducing valve
-
Thermal expansion tank
-
-
-
A small puddle of water on the floor near a gas water heater or in the drain pan could be caused by condensation.
-
When the tank is full of cold water or during times of the year when incoming water is very cold, condensation can form inside the water heater.
-
You may even hear a sizzling sound when water droplets hit the hot burner.
-
Condensation is normal on a new installation (cold tank) or during periods of heavy use or very cold water.
-
Condensation will go away when the tank heats to normal temperature.
-
For minor drips and leaks, see steps below.
-
-
-
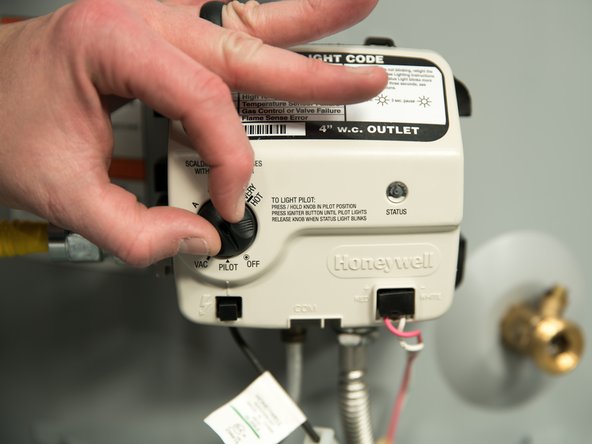
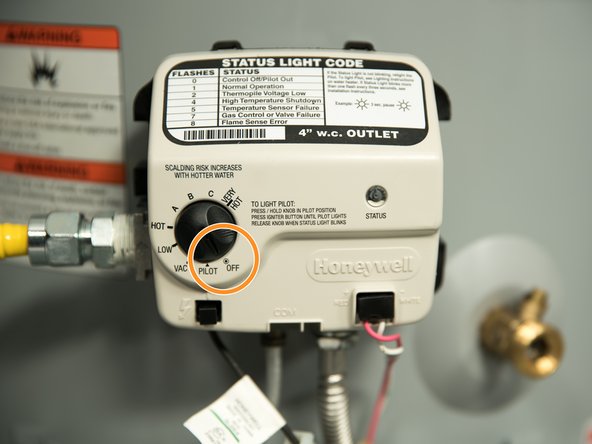
Before checking for leaks, turn the gas control knob to OFF.
-
-
-
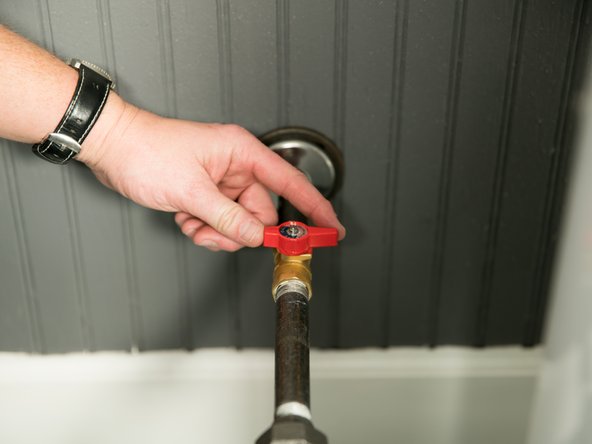
Turn main gas supply valve to OFF.
-
-
-
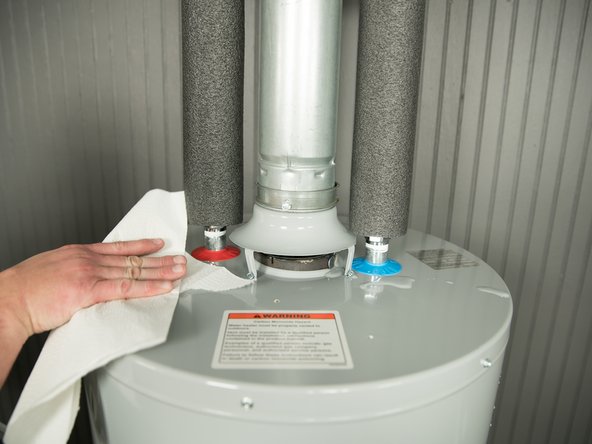
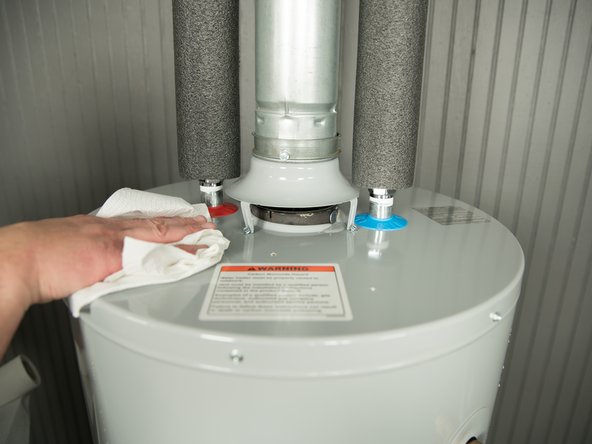
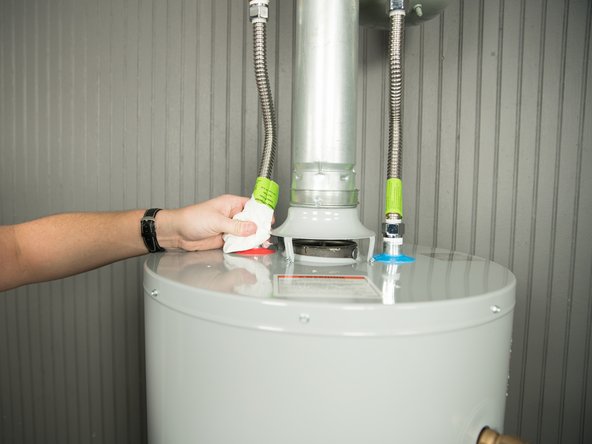
To more easily identify where a leak is coming from, dry up any drips using paper towels.
-
CAUTION! Vent pipe may be hot. Let vent pipe cool before proceeding.
-
-
-
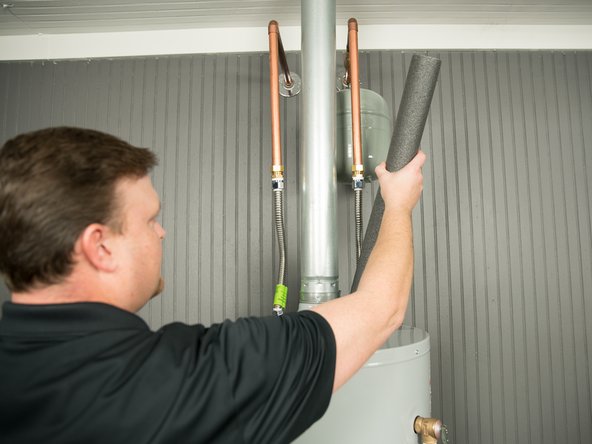
Remove the insulation from the water pipes, if present.
-
-
-
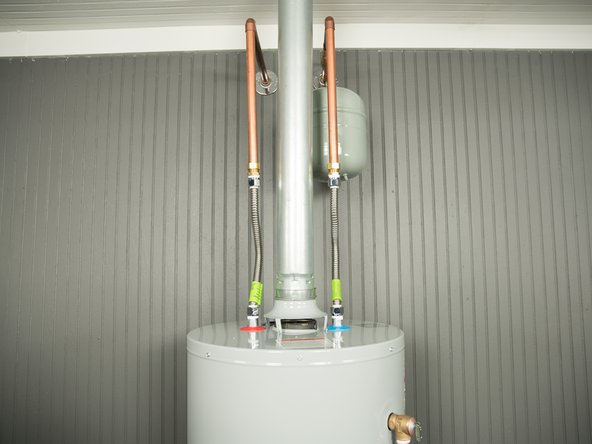
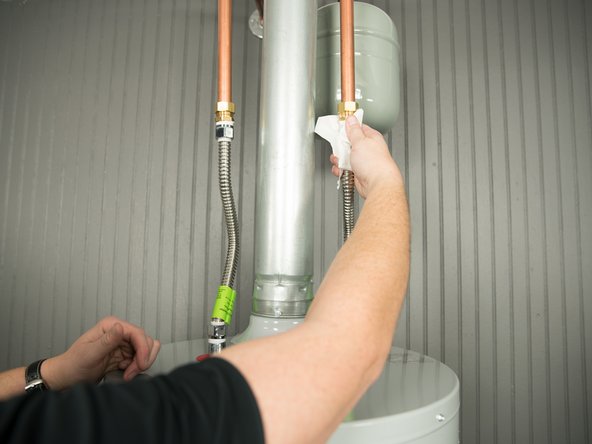
Using a fresh, dry paper towel, press the paper towel against the inlet and outlet connections and check for water droplets or moisture.
-
-
-
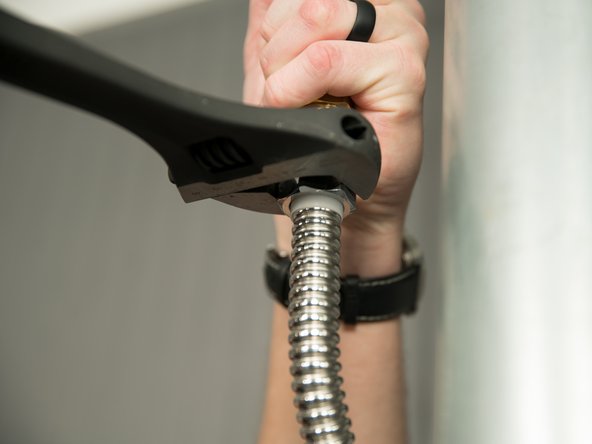
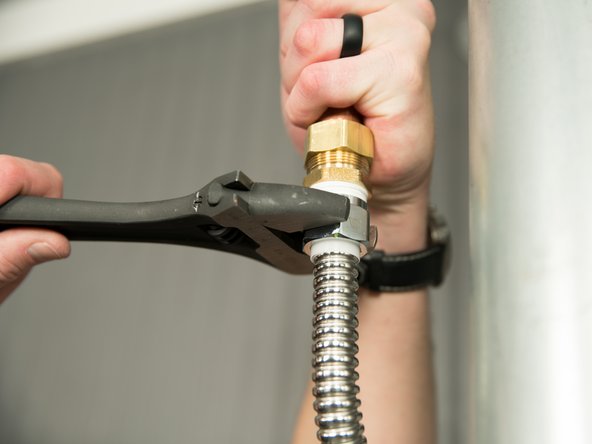
If the paper towel gets wet, try tightening the hot and cold water connections.
-
-
-
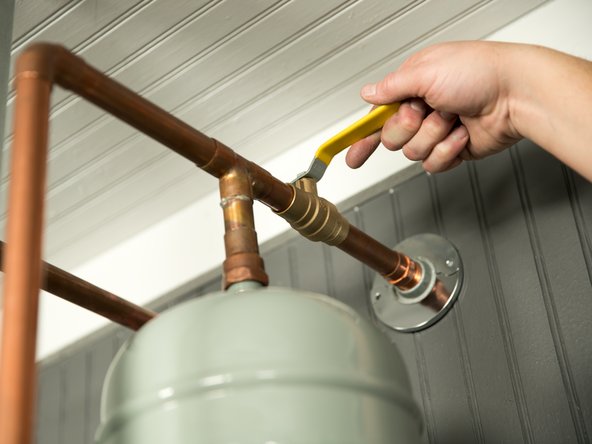
In some cases, you may have to turn the water off and remove the threaded connection.
-
-
-
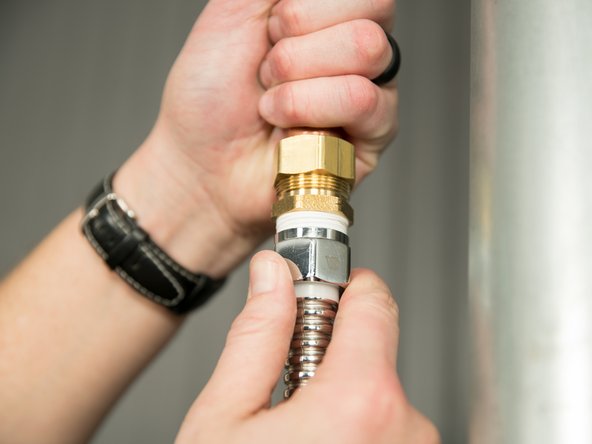
Clean the threads and gaskets.
-
-
-
Reapply pipe joint compound or plumber's tape, if used.
-
-
-
Re-tighten the threaded connections.
-
-
-
Drips coming from the T&P discharge pipe often mean the home's water pressure is too high.
-
Plumbing codes allow a maximum of 80 psi. A Pressure Reducing Valve is required to reduce the water pressure.
-
Pressure Reducing Valves are usually set at the factory to 50 psi. However, they are adjustable.
-
-
-
In many cases, a Thermal Expansion Tank is often needed to stop drips from the T&P valve.
-
Replacing the T&P valve almost never stops the drips because T&P valves rarely fail and drips from the T&P valve are almost always due to high water pressure and thermal expansion.New line.
-
See Maintenance section for information about Pressure Reducing Valves and Thermal Expansion Tanks.
-
-
-
If you can't identify the source of the leak, get help from a qualified person. Turn the gas supply and the water supply valves OFF.
-
Click on "Need More Help" below.
-


