
Introduction
The information on this web site is supplemental to the printed instructions that came with your water heater. To reduce the risk of property damage, serious injury or death, read and follow all labels on the water heater and the safety instructions in the printed owner's manual.
Parts
No parts specified.
-
-
Garden hose
-
Thermometer
-
Flat-blade screwdriver
-
Bucket (optional)
-
-
-
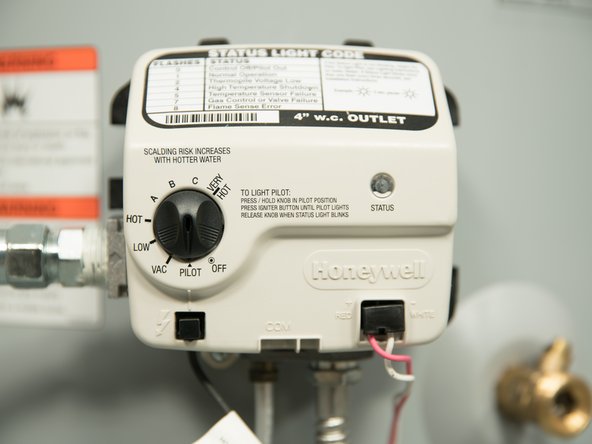
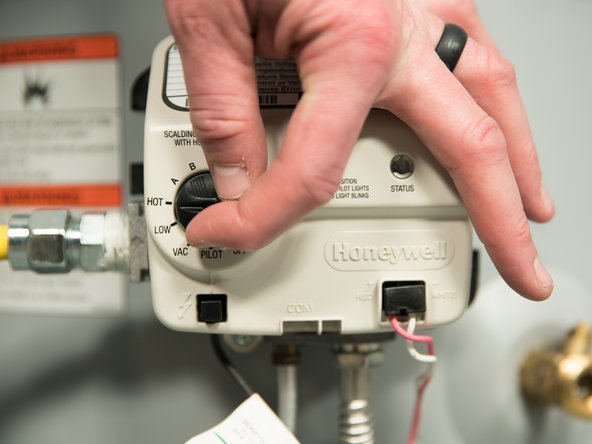
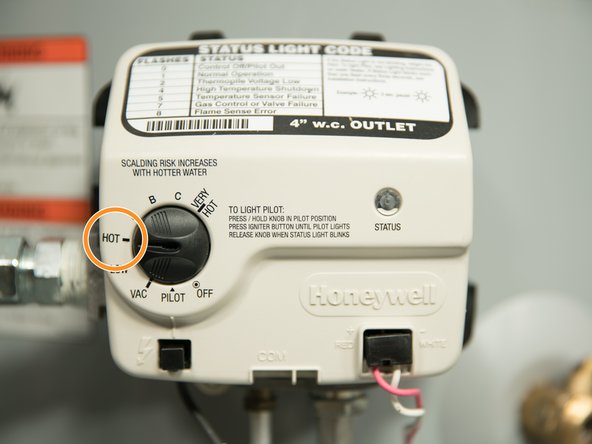
Turn the knob on the gas control valve to the OFF position.
-
-
-
Open a hot water faucet and let the hot water run until it is cool (this may take 10 minutes or longer).
-
WARNING! Be sure the water runs cool before draining the old water heater to reduce the risk of scalding.
-
-
-
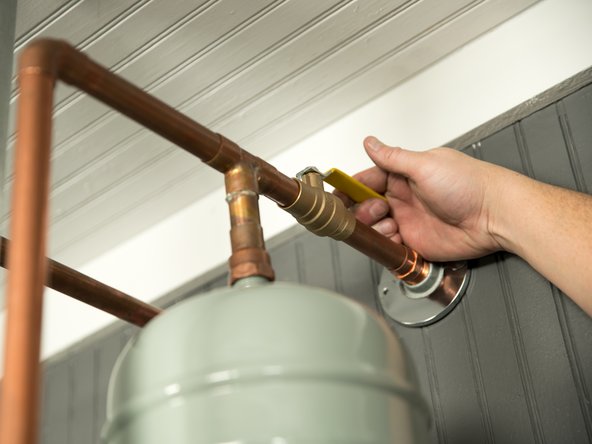
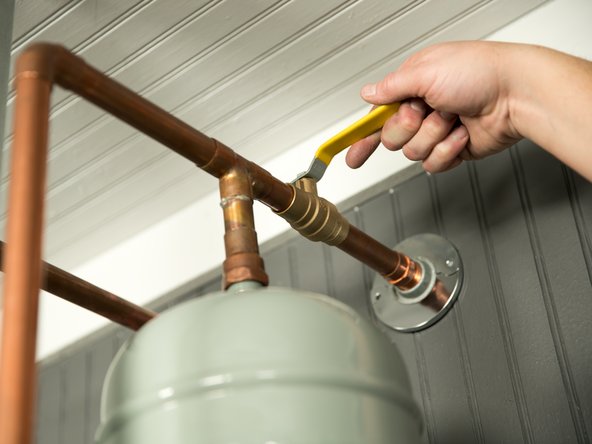
Turn the cold water supply OFF.
-
-
-
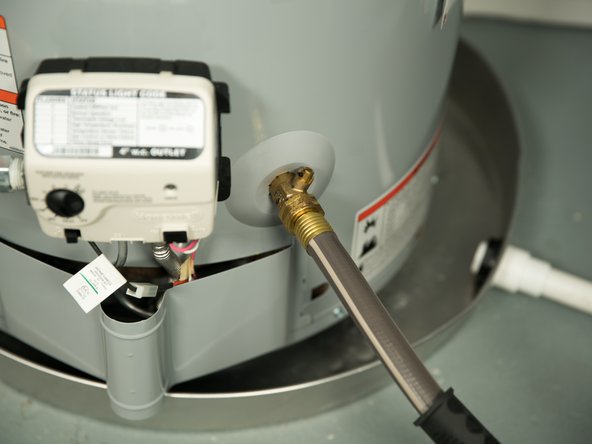
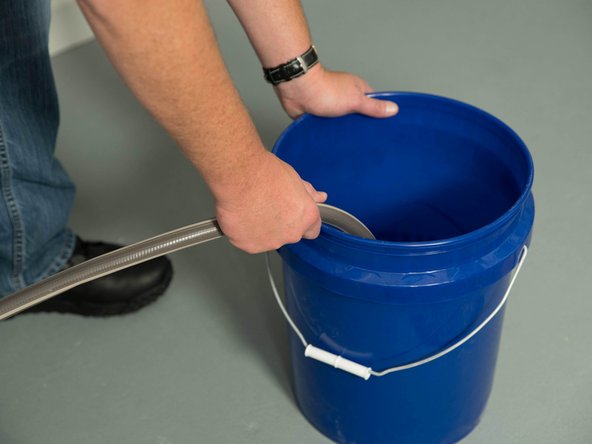
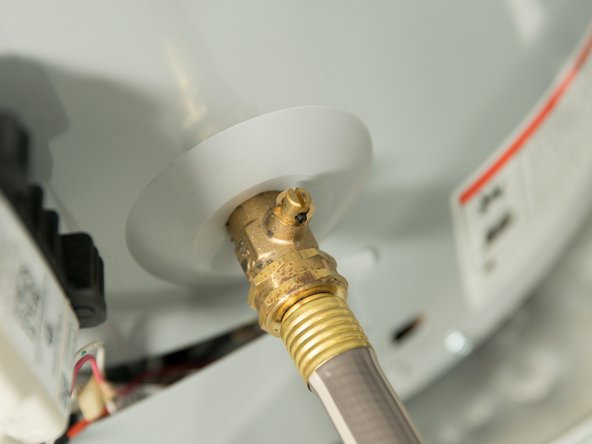
Connect a garden hose to the water heater's drain valve and place the other end of the hose in a drain, outside, or in a bucket.
-
-
-
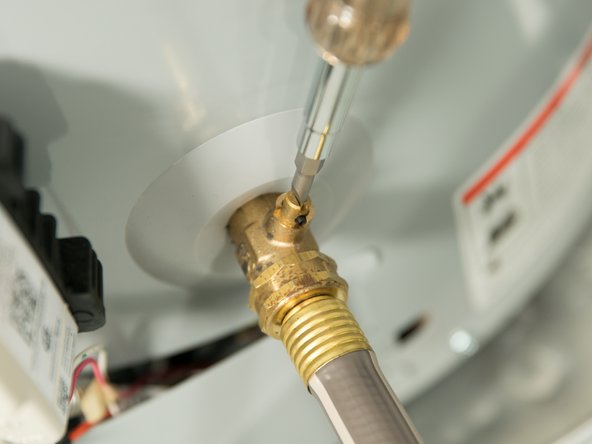
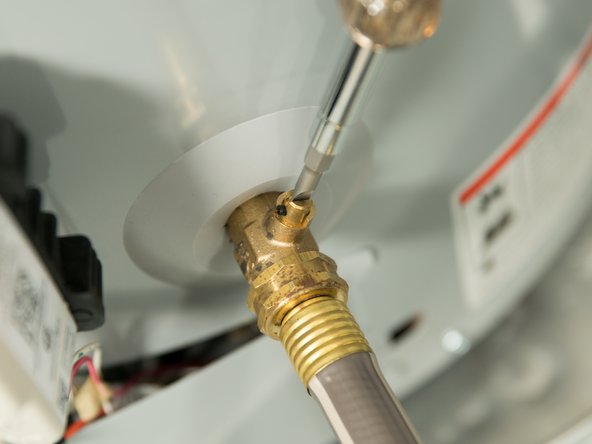
Open the drain valve on the water heater.
-
Opening a hot water faucet will help the water heater drain faster.
-
Some drain valves may be opened with a handle but others require a flat blade screwdriver.
-
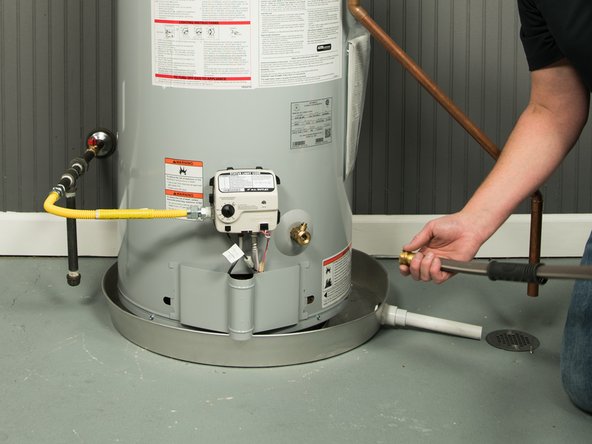
Let the water heater drain completely.
-
Sediment in the bottom of the tank may clog the drain valve and prevent it from draining properly. If you can't get the tank to drain, contact a qualified technician for assistance.
-
-
-
Sediment in the bottom of the tank can cause the tank to drain slowly or not at all. You may need to get help from a plumber or service technician if the tank will not drain.
-
-
-
Once the tank has been drained, turn the cold water supply back ON and flush the tank until the water runs clear.
-
-
-
When you're done, close the drain valve and remove the garden hose.
-
-
-
To remove air from the tank and allow the tank to fill completely with water, follow these steps:
-
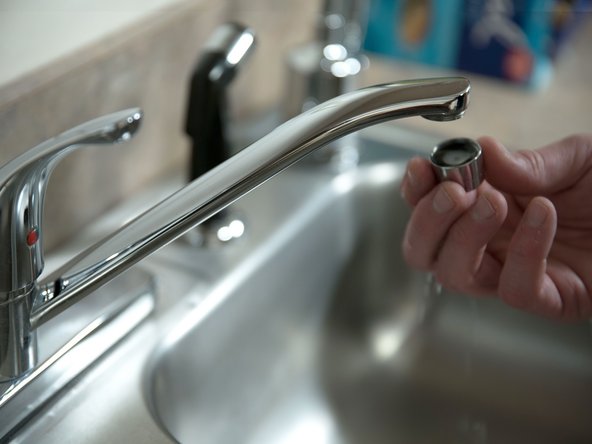
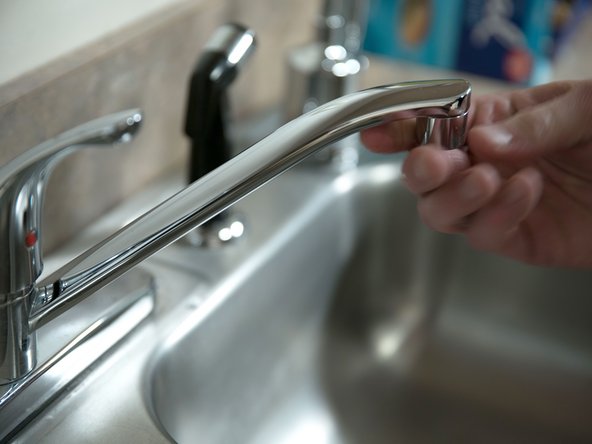
Remove the aerator at the nearest hot water faucet. This allows any debris in plumbing system to be washed out of the pipes.
-
-
-
Open a hot water faucet and allow the water to run until it flows full stream.
-
Let the water run full stream for THREE MINUTES to get all of the air out of the tank.
-
-
-
After all of the air has been removed from the tank, close the hot water faucet and replace the aerator.
-
-
-
Make sure the gas supply is ON.
-
Light the water heater using the instructions on the water heater's label.
-
It may take several attempts to light the pilot.
-
-
-
When the pilot is lit, the status light will begin to blink.
-
Since the tank is cold, you may get some condensation (water droplets) on the floor the first time the water heater operates. This is normal. Condensation may also occur in very cold weather or during periods of heavy use.
-
-
-
WARNING! Hot water can cause severe burns instantly, resulting in severe injury or death. Install Thermostatic Mixing Valves at each point-of-use to reduce the risk of scalding.
-
Read and follow the scald warning information on the water heater and in the printed instruction manual.
-
Set the thermostat on the water heater to "HOT" which is approximately 120°F degrees.
-
If you do wish to change the temperature, see Adjusting the Temperature in Standard Electric Troubleshooting.
-
-
-
Check water temperature at several points of use in your home (for example, bathtub faucet, shower, or lavatory sink) and adjust the Thermostatic Mixing Valves as needed.
-


Team
