
Introduction
The information on this web site is supplemental to the printed instructions that came with your water heater. To reduce the risk of property damage, serious injury or death, read and follow all labels on the water heater and the safety instructions in the printed owner's manual.
-
-
Dish soap
-
Element wrench
-
Garden hose and bucket (optional)
-
Multimeter
-
Non-contact circuit tester
-
Paper towels or shop rags
-
Screwdriver
-
New lower element
-
-
-
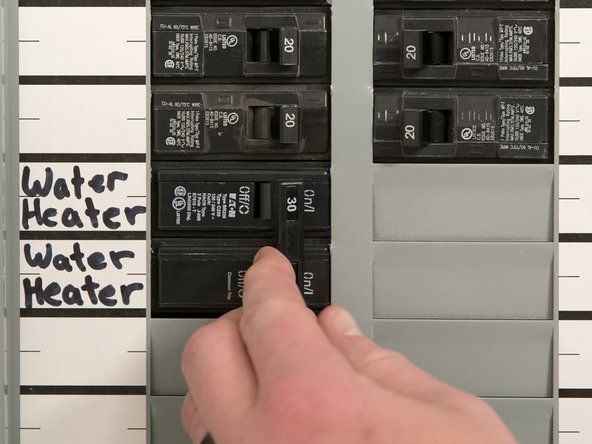
Turn the power OFF at the circuit breaker (or remove fuses).
-
-
-
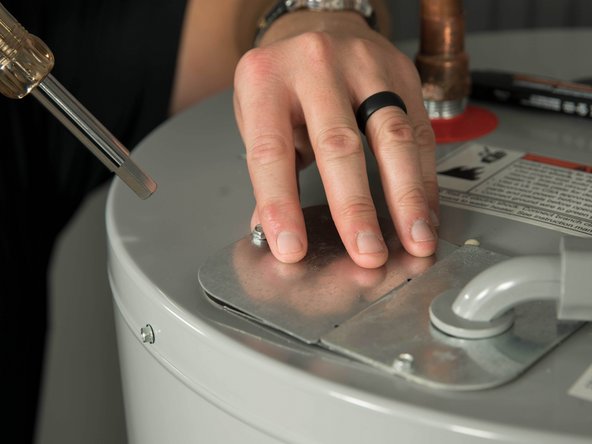
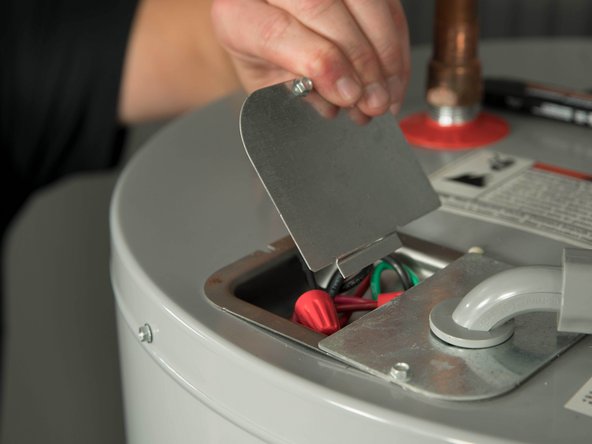
Open the electrical junction box on top of the water heater.
-
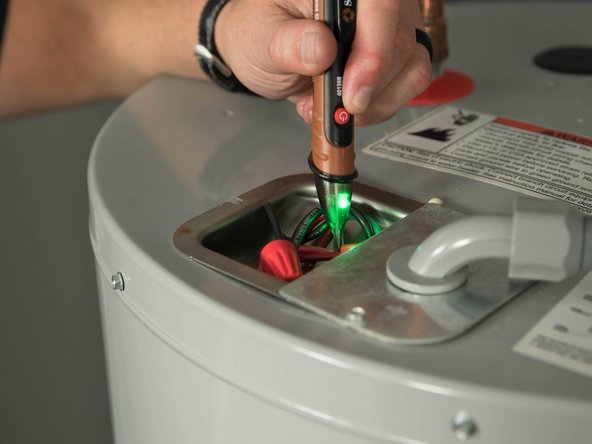
WARNING! Working on an energized circuit can result in severe injury or death from electrical shock. Check wires with a volt meter or circuit tester to make sure power is off .
-
-
-
Check for power with a non-contact circuit tester.
-
WARNING! Working near an energized circuit can result in severe injury or death from electrical shock. Check wires with a volt meter or circuit tester to make sure power is off .
-
-
-
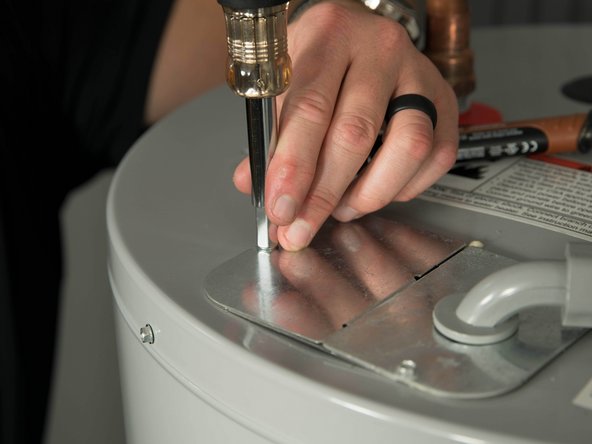
Close electrical junction box.
-
-
-
Open a hot water faucet and let the hot water run until it is cool.
-
WARNING! Be sure the water runs cool before draining the tank to reduce the risk of scalding.
-
-
-
Turn OFF the cold water valve that supplies the water heater.
-
-
-
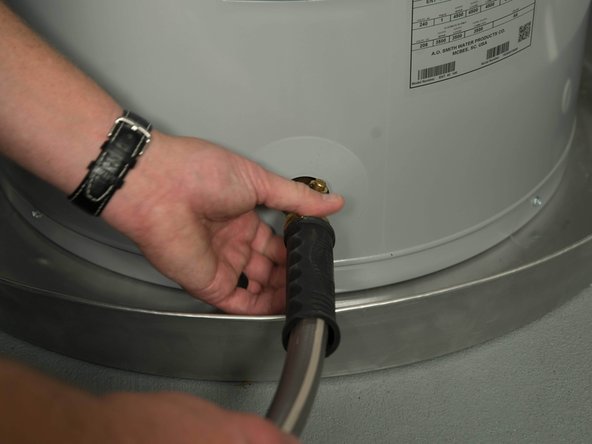
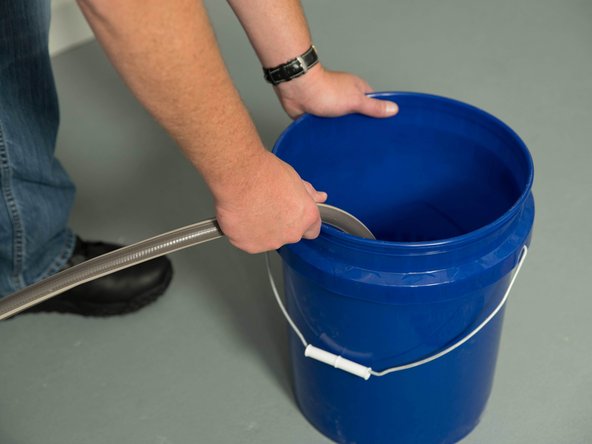
Connect a garden hose to the water heater's drain valve and place the other end of the hose in a drain, outside, or in a bucket.
-
-
-
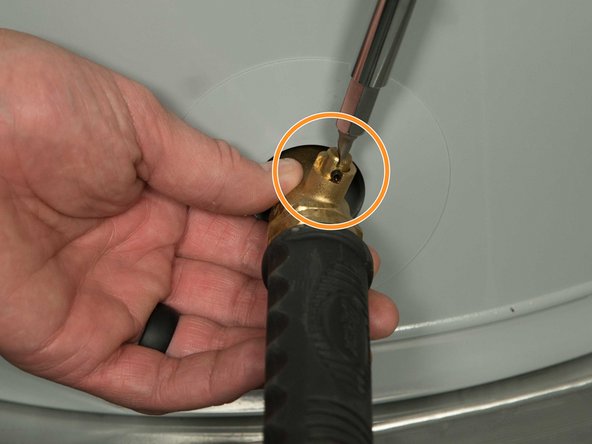
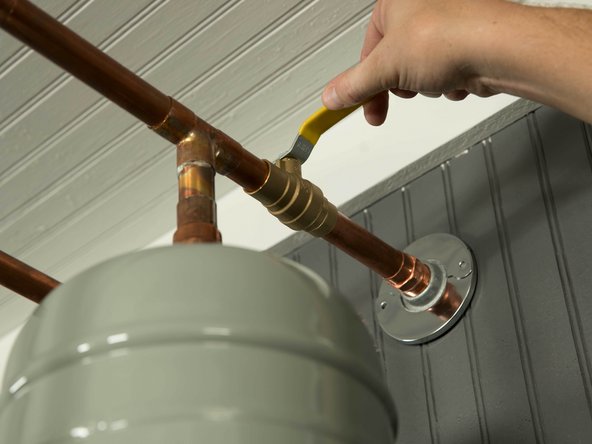
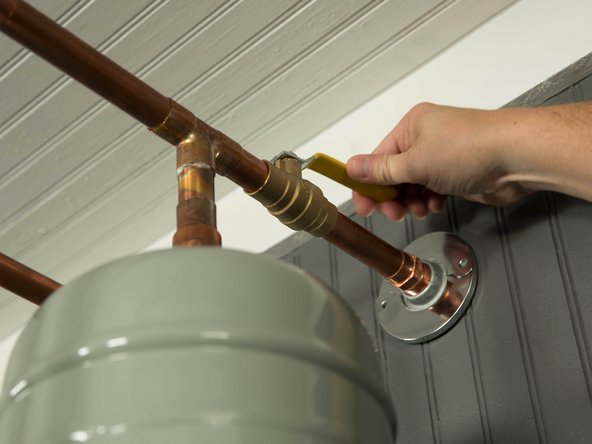
Open the water heater's drain valve.
-
Some drain valves may be opened with a handle but others require a flat-blade screwdriver.
-
Let the water heater drain completely.
-
-
-
Opening a hot water faucet will help the tank drain faster.
-
-
-
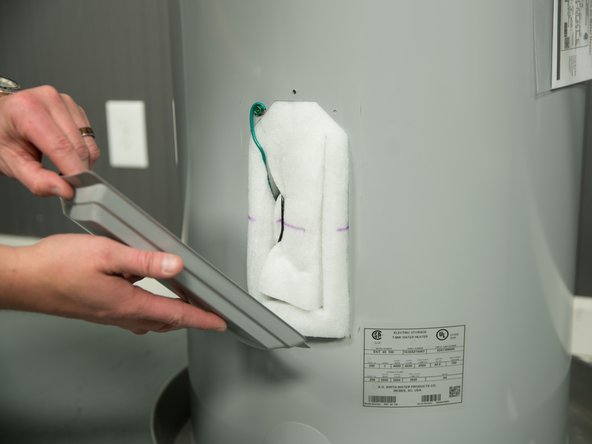
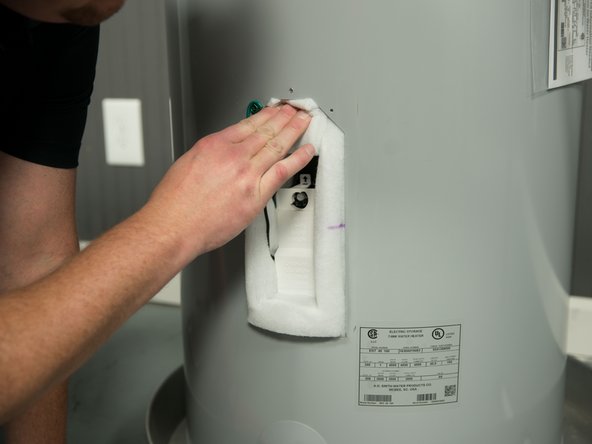
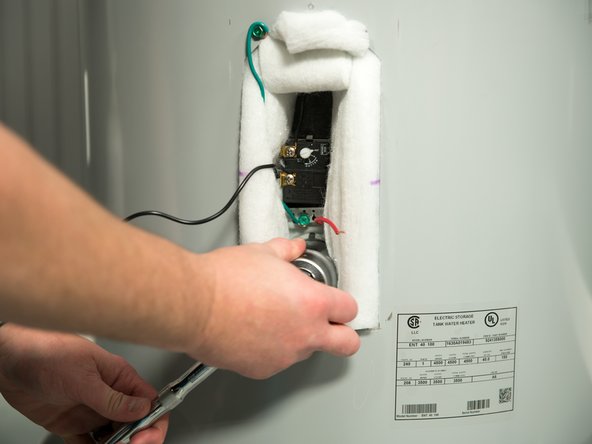
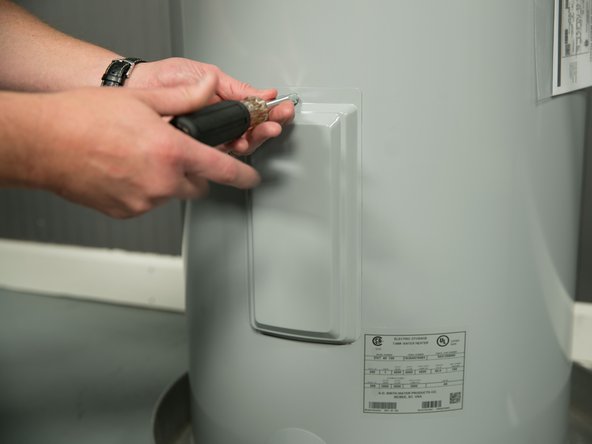
Remove the heating element cover.
-
-
-
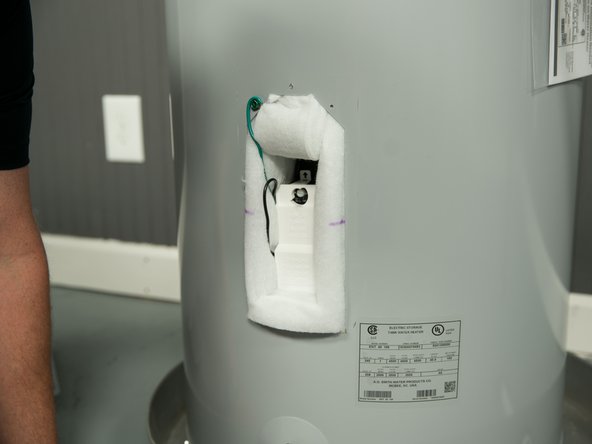
Fold back the insulation.
-
-
-
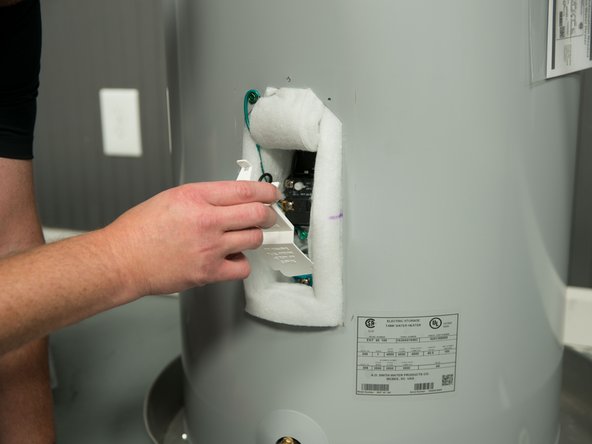
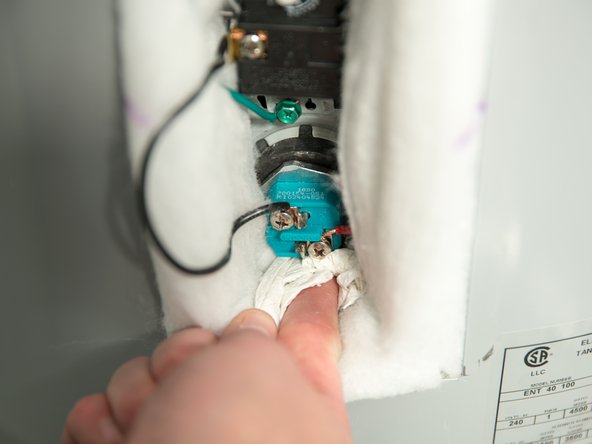
Remove the plastic protector.
-
-
-
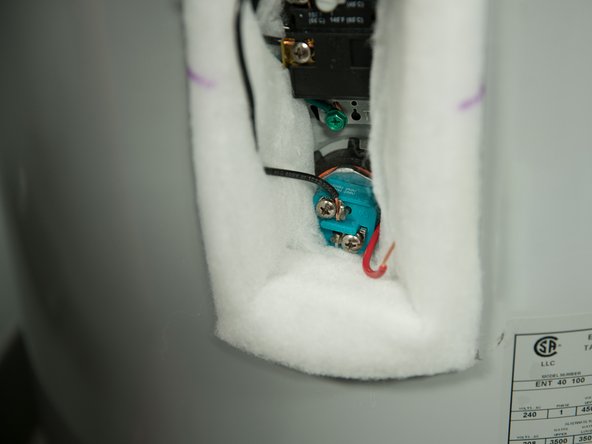
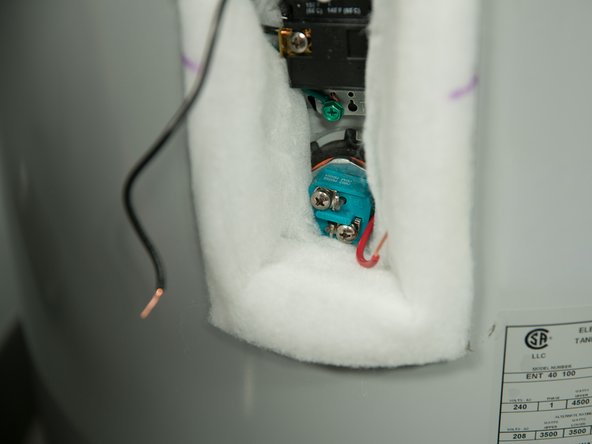
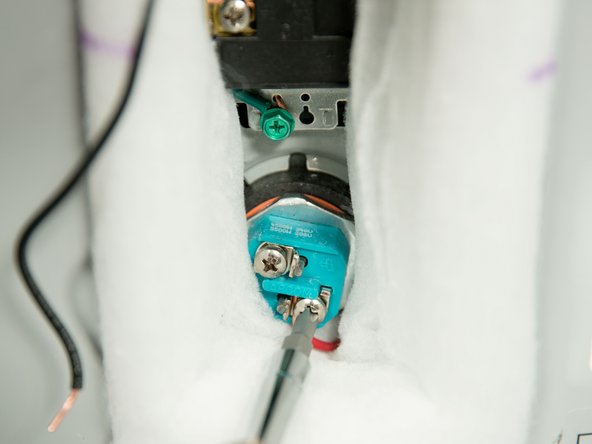
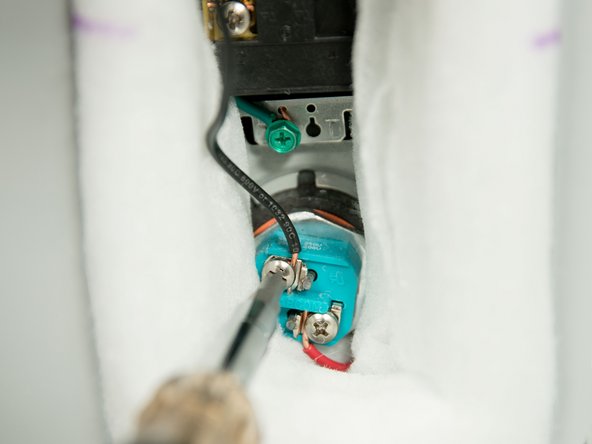
With the tank drained and power off, remove the power wires from the element you intend to replace.
-
-
-
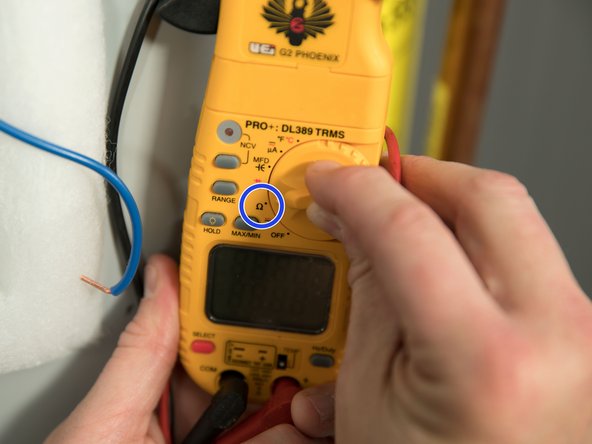
Before replacing a heating element, check the resistance of the heating element using a multi-meter.
-
-
-
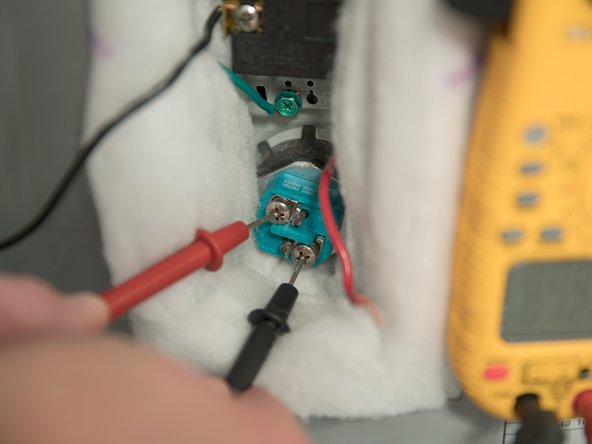
Measure the resistance between the two screw terminals on the heating element.
-
A good element will have a resistance ranging between 5 and 25 Ohms.
-
-
-
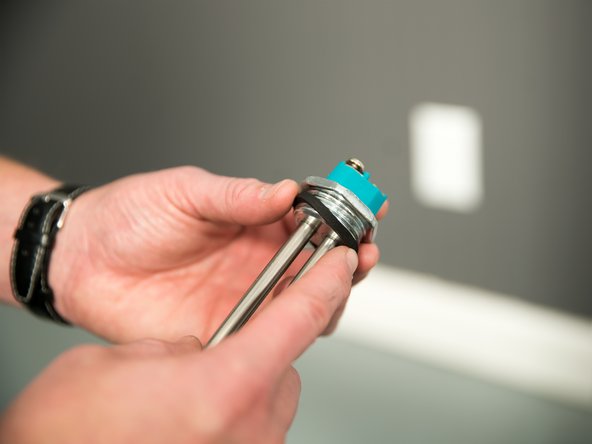
If the resistance is outside this range remove the bad element using an element wrench or 1 1/2" deep well socket .
-
-
-
Make sure the new element is the correct replacement by referring to the water heater’s data plate for voltage and wattage information.
-
-
-
Clean the threads in the tank opening with a rag.
-
-
-
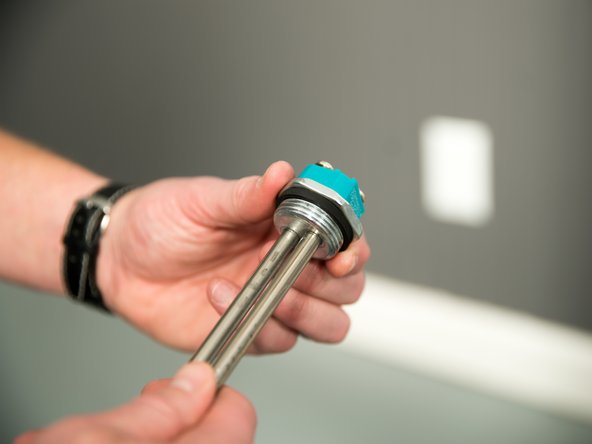
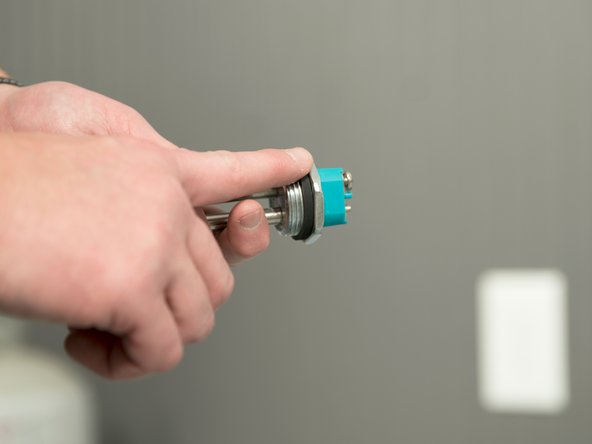
Install the gasket on the element.
-
-
-
Use a drop of hand dish-washing liquid to lubricate the gasket to help avoid damaging the gasket as it is being tightened.
-
-
-
Tighten with an element wrench or 1 1/2" deep well socket.
-
-
-
Replace the power wires. Make sure all wire connections are tight.
-
NOTICE: Do not turn power back on until the tank is completely full of water.
-
-
-
Make sure the drain valve is closed. Refill the tank by opening the cold water supply valve.
-
-
-
Open a hot water faucet and allow the water to run until it flows full stream.
-
Let the water run full stream for THREE MINUTES to get all of the air out of the tank.
-
You must remove all the air from the tank and allow the tank to fill completely with water before connecting electrical power.
-
-
-
Check the newly installed element for leaks.
-
If a leak is present, tighten the element until the leak stops. If you cannot stop the leak, drain the tank and remove the element. Inspect the gasket for damage. If the gasket is damaged, replace the gasket and re-install the element.
-
-
-
Replace the plastic protector.
-
-
-
Replace the insulation.
-
-
-
Replace the heating element cover.
-
WARNING! Be sure covers are secured to reduce the risk of fire and electric shock.
-
-
-
Turn the power to the water heater ON.
-
It may take two hours for the tank to heat up.
-


Team
